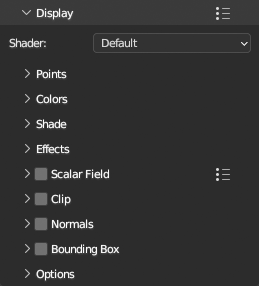
Display
Display panel contains everything related to how points are displayed in viewport. Main shader for points is chosen with Shader dropdown menu. Default shader offers many options for shading that can be mixed together using Opacity and Mode, other shaders are more analytical (Position Colors, Normal Colors and Height Colors) and offers only a few properties for data they show.
Preset ![]() menu in panel header will save all settings in all subpanels into a preset.
menu in panel header will save all settings in all subpanels into a preset.
Points
Points panel contains settings related to point visibility, shape and size.
Percentage- Adjust percentage of points displayedShuffle Points- Shuffle points if they are ordered soPercentagelower than 100% shows evenly distributed pointsUse UI Scale- Multiply point size by UI Scale (Preferences > Interface > Resolution Scale)Round Points- Draw rounded pointsSize- Point size in pixelsWorld Size- Set point size in world units (i.e. meters)Fast Nav Size Factor- Increase point size when viewport is navigated for better visibilityCulling- Cull points facing backwards, requires point normals

Colors
Colors panel contains settings related to point color or color generation, shows for Default shader only
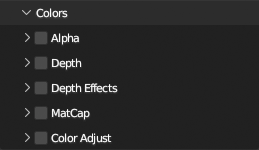
Alpha
Global Alpha- Adjust overall alpha of pointsUse Alpha Per Point- Use alpha per point if point colors contain alpha value

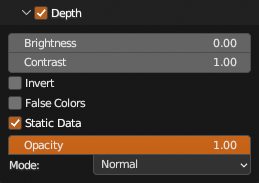
Depth
Colorize points by depth from viewport camera
Depth Effects
Colorize points by depth from origin or another object

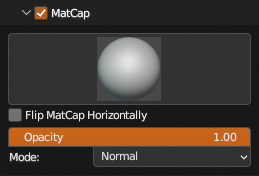
Matcap
Colorize points using matcap image, requires normals. Matcap images are listed from BLender > Preferences > Lights > MatCaps and Blender builtin.
Blender 5.0 ships with matcap images as multilayer EXR files, there is no python API to read these images as pixel arrays, so new matcap images from Blender cannot be used. To restore functionality, copy matcap images from Blender 4.5 installation (System Directory) .../4.5/datafiles/studiolights/matcap/*.exr to User Directory .../5.0/scripts/presets/point_cloud_visualizer/matcaps/*.exr (more info about Blender Directory Layout) and old matcap images will show in menu and can be used. If you used any custom matcap images, copy them there as well. If target directory is empty or missing, one matcap image bundled with PCV will show in menu with a warning in panel.
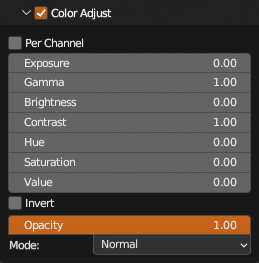
Color Adjust
In shader color adjustments, to apply at point colors use Filter > Colors > Color Adjustment
Per Channel- Adjust Exposure, Gamma, Brightness and Contrast per color channel (R, G and B separate)
Shade
Shade panel contains settings related to point shading, shows for Default shader only and each requires normals.

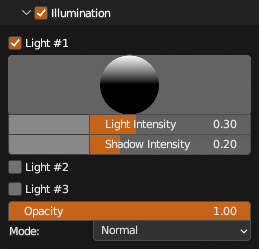
Illumination
Add up to 3 lights to illuminate points.
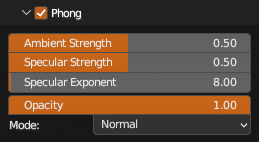
Phong
Use Phong shading
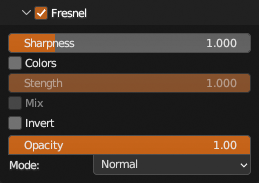
Fresnel
Shade points by Fresnel value
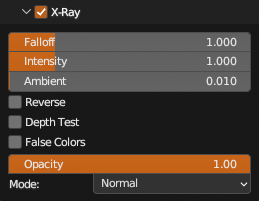
X-Ray
Draws points in additive mode and those with normal oriented closer to view normal with proportionally lower opacity. Because of additive mode, depth buffer is cleared before drawing.
Effects
Effects panel contains settings that manipulate with point location directly in shader. Shows for Default shader only. To apply at points use Filter > Points > Apply Shader Effects
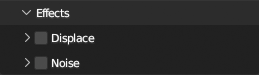
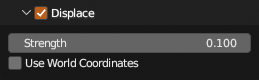
Displace
Move points along their normals
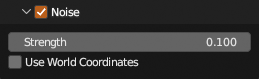
Noise
Move points randomly
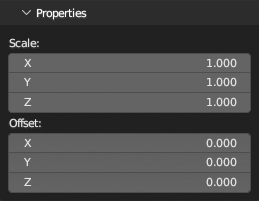
Position Colors Shader Properties
Properties for Position Colors shader contains location color grid scale and each grid cell offset.
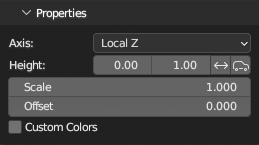
Height Colors Shader Properties
Properties for Height Colors shader contains axis selection, remapping options and custom colors.
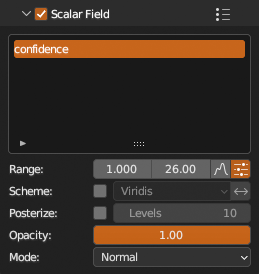
Scalar Field
Contains a list of available scalar fields, value remapping options and colorization schemes.
Clip
Clip displayed points by up to 6 planes. You can control each plane individually by gizmo that is enabled by clicking ![]() button.
button.
Reset To Data Bounding Box will reset all planes to data bounding box, ![]() in local coordinates or
in local coordinates or ![]() in world coordinates.
in world coordinates.
Clip planes state can be saved per object clicking ![]() button and removed by
button and removed by ![]() . Stored state will be restored by
. Stored state will be restored by ![]() button on list item.
button on list item.
All planes at once, aligned to a cuboid, can be controlled with Clip Box gizmo, ![]() shows translate handles,
shows translate handles, ![]() rotate handles,
rotate handles, ![]() move box vertices,
move box vertices, ![]() move box sides and
move box sides and ![]() to move opposite faces together or in inverse direction.
to move opposite faces together or in inverse direction. Clip Box uses all 6 planes to determine its location, rotation and dimensions by intersecting planes together, if that for any reason cannot be done (e.g. 3 planes at corner does not intersect in a single point), it resets itself to data bounding box. If any plane is rotated with Clip Plane gizmo out of right angle, it will reset to data axis aligned bounding box in world coordinates. For most predictable results reset state before enabling and don’t mix both gizmos together.
You can also use any Blender Object bounding box to set planes from. If ![]() is enabled, bounding box source object can be animated and clip planes will be updated on each redraw.
is enabled, bounding box source object can be animated and clip planes will be updated on each redraw.
Set Clip Planes From Object Bounding Box will set planes from object bounding box and Clone Unclipped Points will clone unclipped points to a new PCV instance.

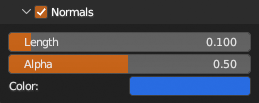
Normals
Visualize point normals as lines.
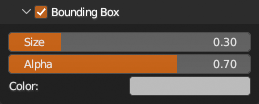
Bounding Box
Draw points Bounding Box.
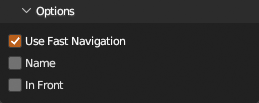
Options
Other Display options
Use Fast Navigation- Include or exclude fromFast Navigation, see Preferences for more infoName- Draw source file name in viewport at originIn Front- Draw points above everything else