Compare Blender Image Data-Blocks*
* Other types are going to be added in future. The goal is to be able to compare any two Blender data-blocks at both properties and data level in visual, user friendly way and to copy differences from each other. Support for other data-blocks will be added gradually. Stay tuned..
Available at Blender Market
Blender Compatibility
- Blender 3.6 LTS or later
Install as Addon (before Blender 4.2 LTS)
- download latest version
bdiff-###.zip - install as addon: docs.blender.org
Install as Extension (Blender 4.2 LTS and later)
- download latest version
bdiff-###.zip - install as extension using
Install from Diskmethod: docs.blender.org
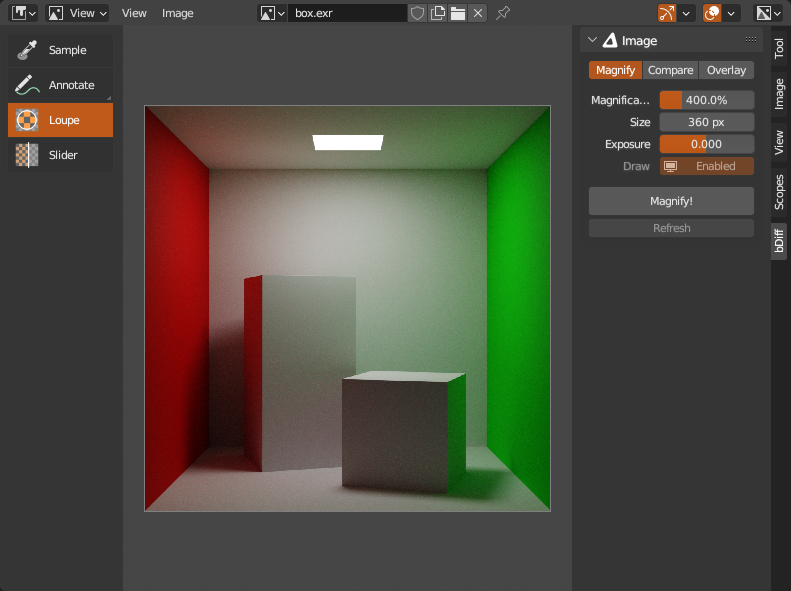
UI
bDiff adds two new tools to Image Editor toolbar: ![]() Loupe,
Loupe, ![]() Slider and
Slider and ![]() Transform and bDiff category with Image
Transform and bDiff category with Image panel to Image Editor sidebar.
General Use
- Load or select an image in Image Editor first. UV Editor will work as well unless uv editing is active.
- All custom image drawing is done with bDiff Image Engine. It will draw over original image in Image Editor. While this is happening, small bDiff logo
is drawn at bottom left corner of Image Editor. Original image is never modified, everything is done on gpu with custom shaders.
 Loupe Z,
  Slider S and
  Transform R are used as other tools from Image Editor Toolbar (show toolbar with T shortcut), they will start engine if invoked via shortcut, or, if clicked in toolbar, when they are used for a first time.
- Other types from Compare mode and all types from Overlay mode, need to be started from Image Editor Sidebar (show sidebar with N shortcut),
bDifftab andImagepanel withCompare!orOverlay!button (depends on selected mode), or engine can be toggled on using E shortcut. - When you no longer need engine running, stop it with
Stopbutton from panel, or with E shortcut. - If UV editing is detected, drawing is disabled, but engine is left running.
- If image has been modified in any way by Blender while engine is running, to update cached pixels and update drawn image, click
Refreshbutton or use its Image Editor global shortcut R, orStopengine and start again using one of the main buttons (depends onMode), or stop and start engine using E Image Editor global shortcut twice. Whichever option you prefer.
⚠️ Image Data-Block Limitations
Because of Blender API, there are some limitations regarding image source and type. See Support Table for quick overview.
Supported are images loaded from files, image sequences from files and movies, generated images, Multilayer EXRs (only first View Layer and Combined pass) and Render Result image and its Slots (including slot to slot comparison) although its View Layer setting is not supported. Viewer Node image is not supported because it is used in many workarounds to get pixels from other image source and types. Tiled images are not supported at the moment, but might be in future. The same aplies on Multilayer EXR passes other than Combined.
In general, Blender API has good support for plain simple images loaded from files on disk (except Multilayer EXR). Anything other that that, workarounds have to be used. Some still relatively fast, but most of the time performance suffers. Some workarounds include writing temporary image to disk and reading back, some include reading pixels to array with or without sRGB/Linear conversion, some both and some extra. Worst performance is when Image has View as Render enabled - to get image pixels with scene color management applied, image have to be saved, read and converted in one go. These issues are hanging in Blender Issue Tracker for years..
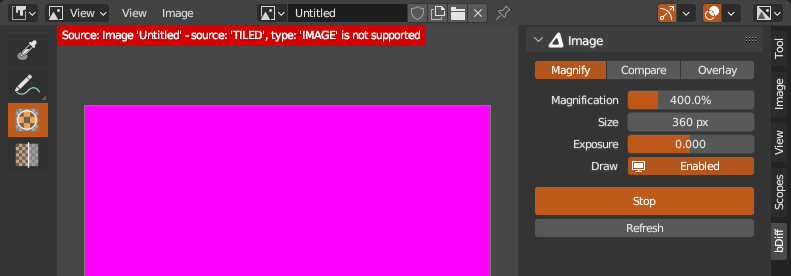
If there is a problem with unsupported image source, type or Render Result slot has no image data, incompatible Color Management or any other caught problem, message is displayed on screen and pink pixel is drawn instead of image.
Multilayer EXR and Render Result image will always use pixels from first View Layer (I haven't found any workaround yet, here are some technical details in case you are interested: you can get layer index from image user type, but compositor image node needs layer name and because its ui layer enum items are generated by blender internally, you have no access to its items in order to read layer names and enum cannot be set by index that you know, only by name you can't get from Blender) and Combined pass and will erase Viewer Node image in order to load pixels. It will be also somewhat slow because workaround (aplies also on Render Result image) is used since there is no direct way to read pixels https://projects.blender.org/blender/blender/issues/53768.
Render Result image will have all its render slots to choose from when used both as Source and Target to compare between slots. If slot has no image, error message will be displayed. If Source is different image (e.g. loaded from file), and Target is Render Result, only first slot can be used, other slots will be unavailable.
If Source image is still image and Target is a file sequence, Blender will not update sequence frame number and will report it as path to 0000.EXT file, regardless of the current frame. If sequence is used as Source, this problem does not occur. Movie can be both Source and Target without issues.
Scene Color Management, Display Device must be set to sRGB, if other option need to be used, image have to have View as Render enabled in order to read pixels correctly. Other Color Management settings are always aplied on Render Result image, other images (i.e. loaded from files) need to have View as Render enabled so settings are aplied. Expect worse performance when View as Render is enabled, to read pixels with aplied Color Management, workaround have to be used which is slow.
Because of (i suspect) internal double conversion between sRGB and linear, image tones especially in darker areas are tiny bit off in comparison with plain Image Editor image. I added correction in custom shaders to match closer to Image Editor tones, but it is not exactly the same, difference is only less prominent.
Blender API does not allow to choose interpolation for gpu textures, so all textures (images) passed to shaders are interpolated. To show individual pixels not interpolated when zoomed in (i.e. to mimic Image Editor), image is pixelated as an extra effect in shader. This has side effect on transparency, black from fully transparent pixels bleed slightly to semi-transparent pixels on edge of transparent area causing them to be slightly darker. With darker checkerboard pattern it is not much noticeable, but with lighter it is.
For performance reasons, images being drawn on screen are not updated if modified from outside (except for Sequence and Movie types that are updated on frame change). Because of Blender API, especially getting pixels from Multilayer EXR or Render Result is too slow to be interactive and executed on every screen redraw. To update pixels, click Refresh button, Stop and start bDiff again (Magnify, Compare! or Overlay! buttons (depends on context)) or Image Editor global shortcut E to toggle engine.
Support Table
| Image | Image + View as Render | Multilayer | Multilayer + View as Render | Multilayer + Layer | Multilayer + Pass | UV Test | Render Result | Render Result + Slots | Render Result + Layer | Render Result + Pass | Compositing | |
| File | yes | yes | yes | yes | no | Combined | - | - | - | - | - | - |
| Sequence | yes | yes | yes | yes | no | Combined | - | - | - | - | - | - |
| Movie | yes | yes | - | - | - | - | - | - | - | - | - | - |
| Generated | - | - | - | - | - | - | yes | - | - | - | - | - |
| Viewer | - | - | - | - | - | - | - | yes | yes | no | Combined | no |
| Tiled | no | no | no | no | no | no | - | - | - | - | - | - |
- Legend:
- yes, is supported by Blender API out of box
- yes, is supported with workaround
- partial support with workaround
- not supported, but may be in future with workaround
- not supported by Blender API and no workaround exists
- combination does not exist
Magnify and  Loupe tool
Using ![]()
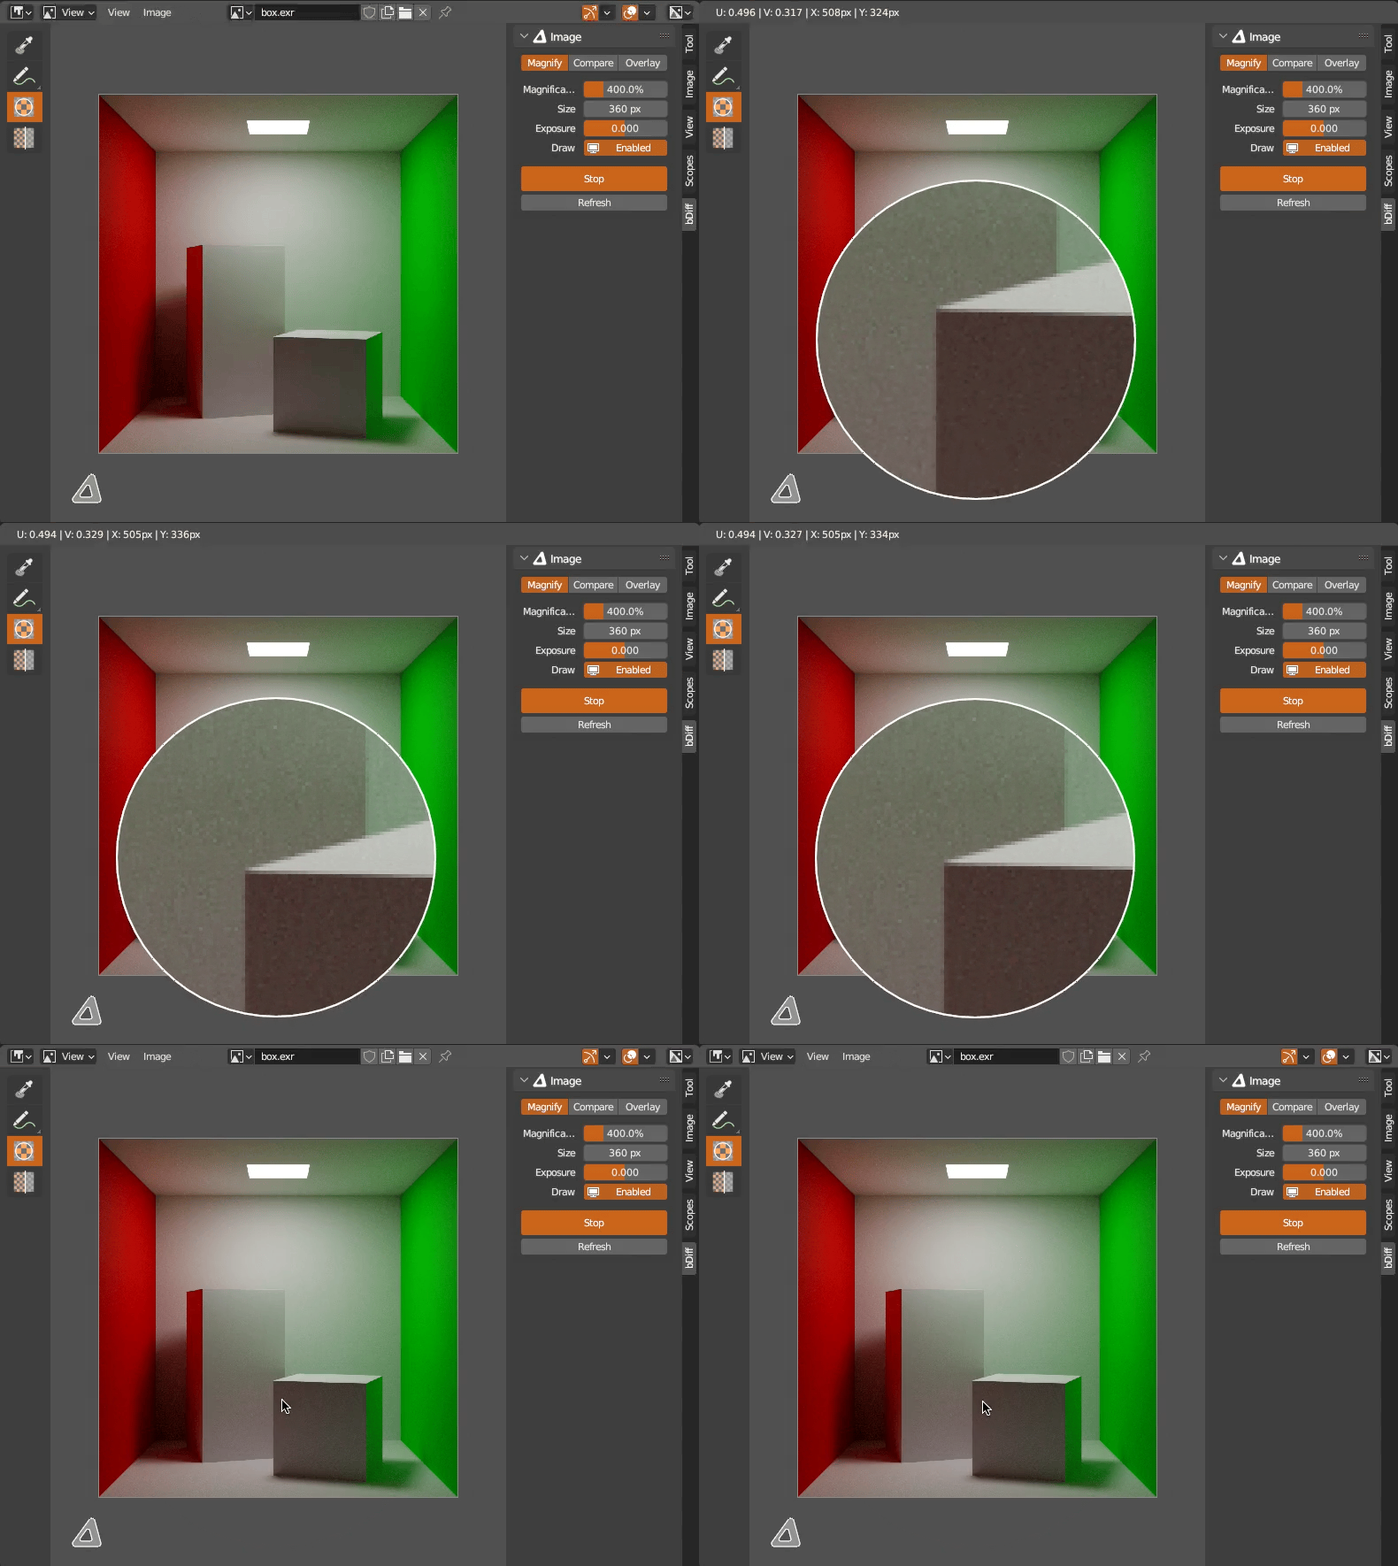
Loupe tool, magnify portion on image under mouse cursor. If Loupe tool is used or selected via shortcut Z, engine is started automatically. No need to click Magnify! button. If tool is used without engine running, it will start it automatically upon first use. LMB to show widget, drag to move it, release to hide widget.
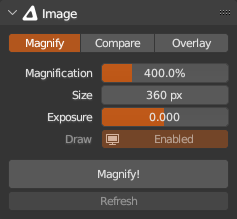
Mode- Main image data-block mode setting. Default value can be set automatically. See Preferences for more info.Magnification- Loupe widget magnification [100% - 1600%].Size- Loupe widget size [128px - 1024px]@72, value is adjusted for currentBlender > Preferences > Inteface > Display > Resolution Scale.Exposure- Loupe widget exposure [-10.0 - 10.0].Draw- Draw override for this Image data-block.Magnify!- Operator to start bDiff Image Data-Block Engine. Image Editor global shortcut to toggle engine is E. If engine is running, becomesStopbutton.Refresh- Refresh all images in bDiff Image Data-Block Engine if they have been modified from outside. Image Editor global shortcut is R.
Shortcuts
Select tool in toolbar and activate engine Z
Adjust widget magnification LMB + CTRL + Mouse Wheel Up/Down
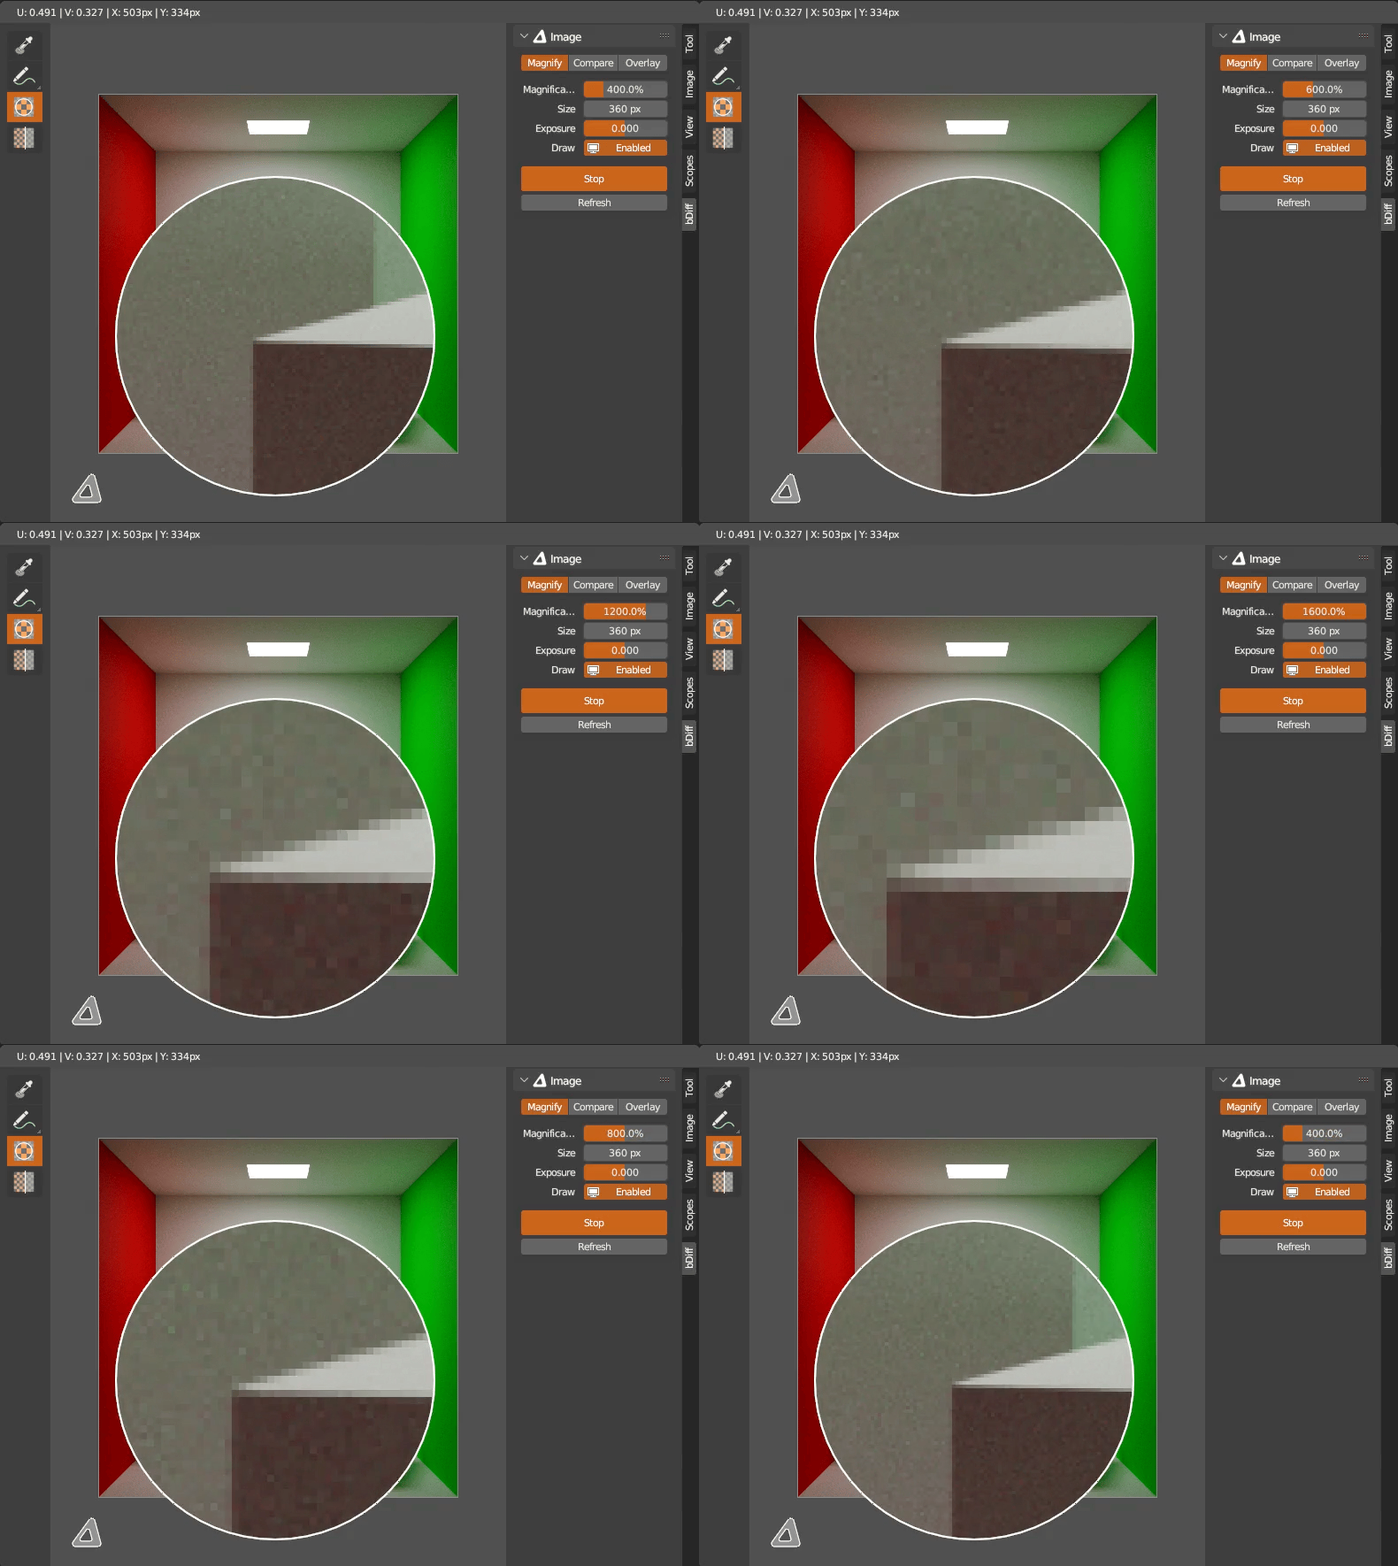
Adjust widget size LMB + SHIFT + Mouse Wheel Up/Down
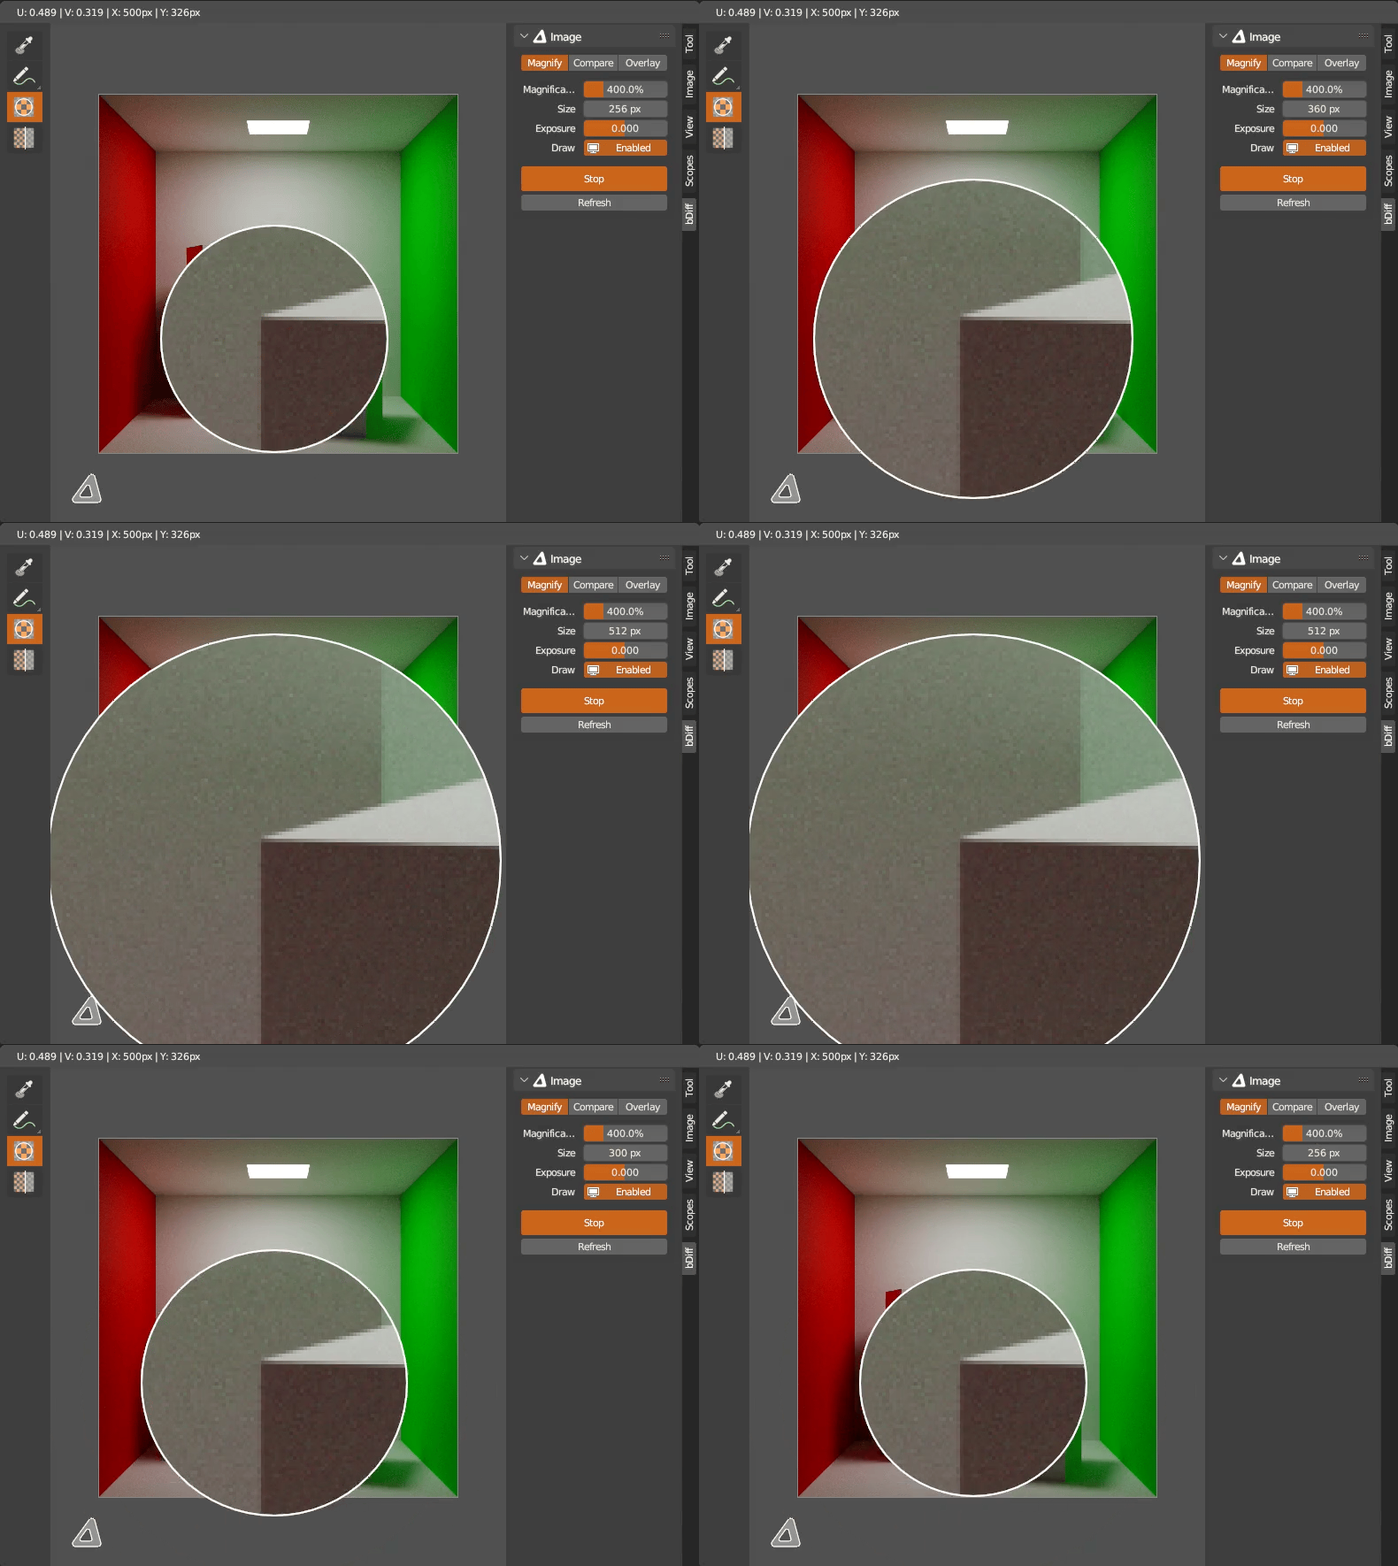
Adjust widget exposure LMB + CTRL + SHIFT + Mouse Wheel Up/Down
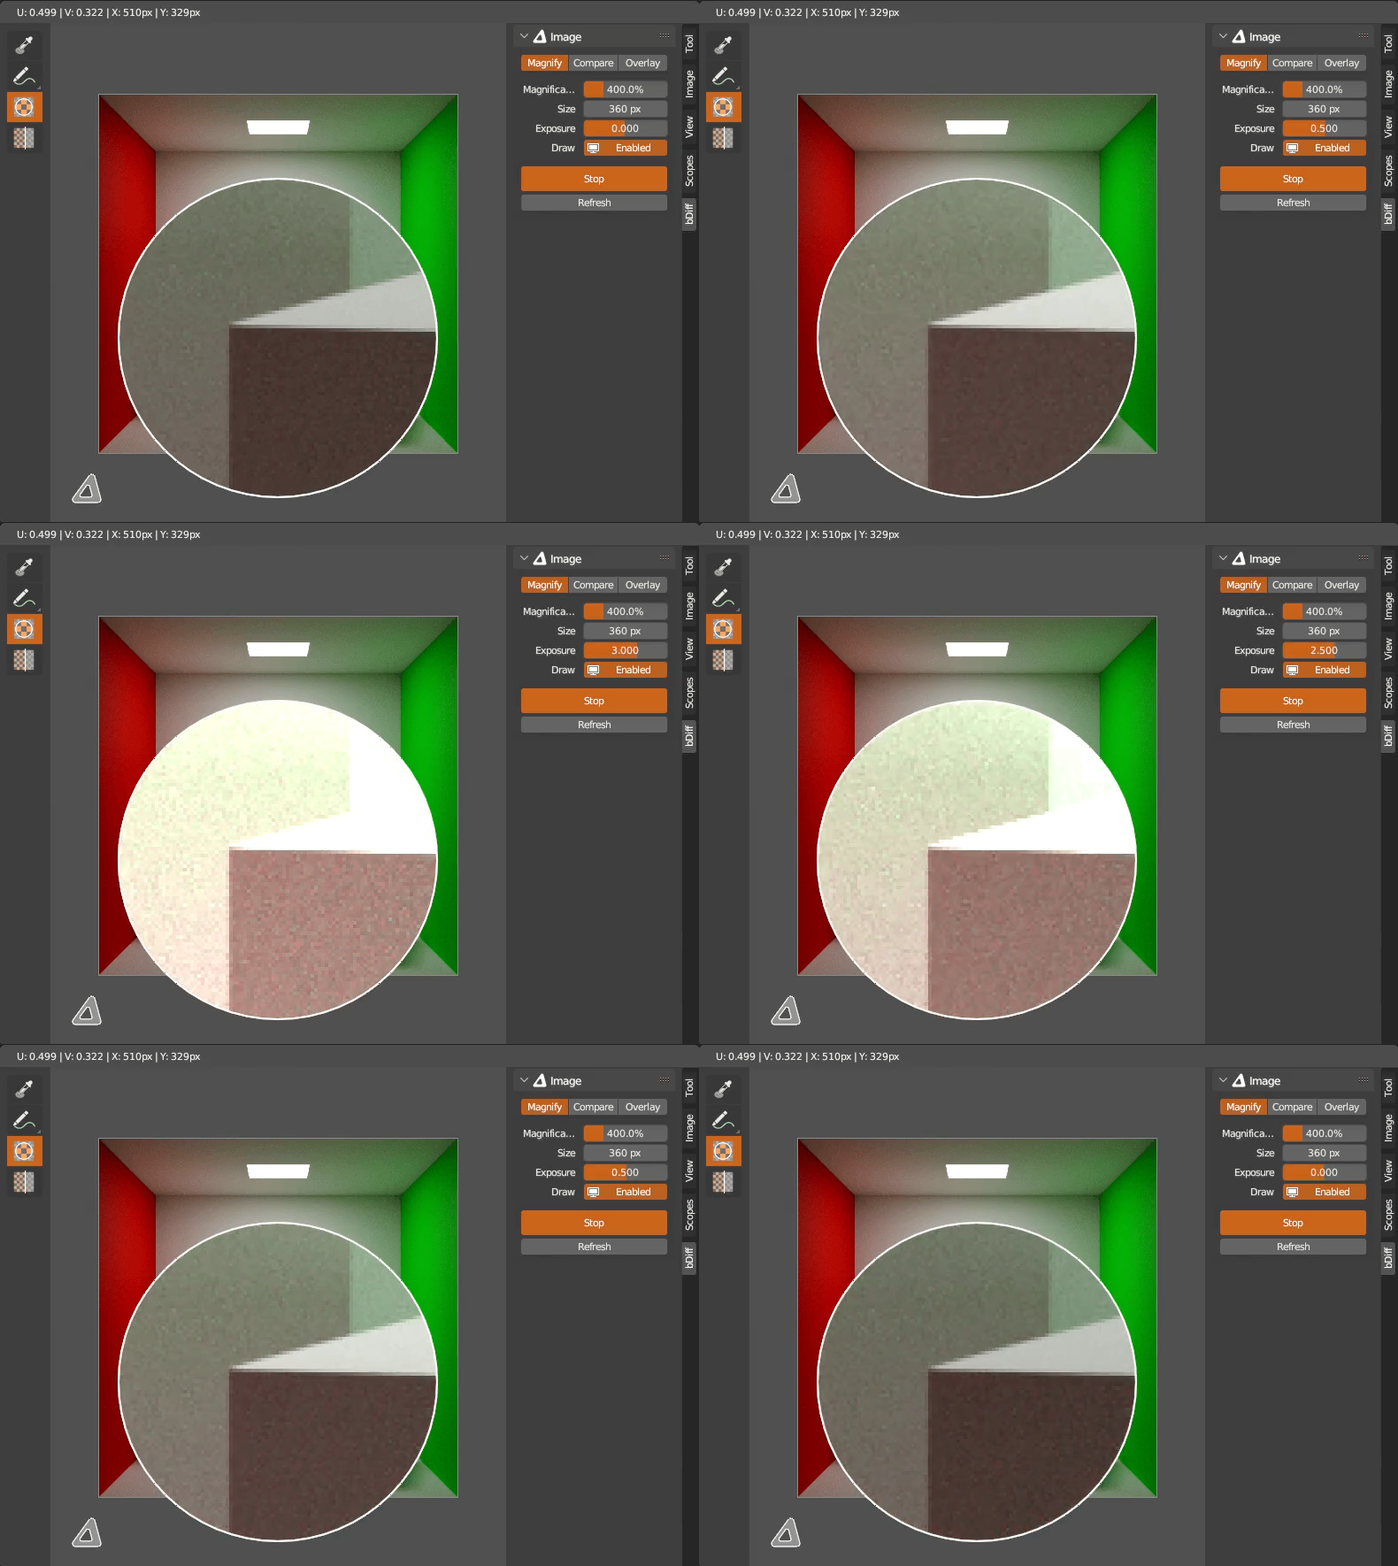
Loupe tool header
Settings are accessible from tool header as well.

Compare
Compare uses two images, both have to be loaded first. Settings are stored on image that is currently loaded and displayed in Image Editor. This is the Source image. Image chosen in bDiff > Image panel to compare with will be the Target.
If Target image pixel dimensions are different than Source, Target will be scaled to fit Source.
Set desired settings and click Compare! button or E shortcut while mouse cursor is inside Image Editor.
Difference
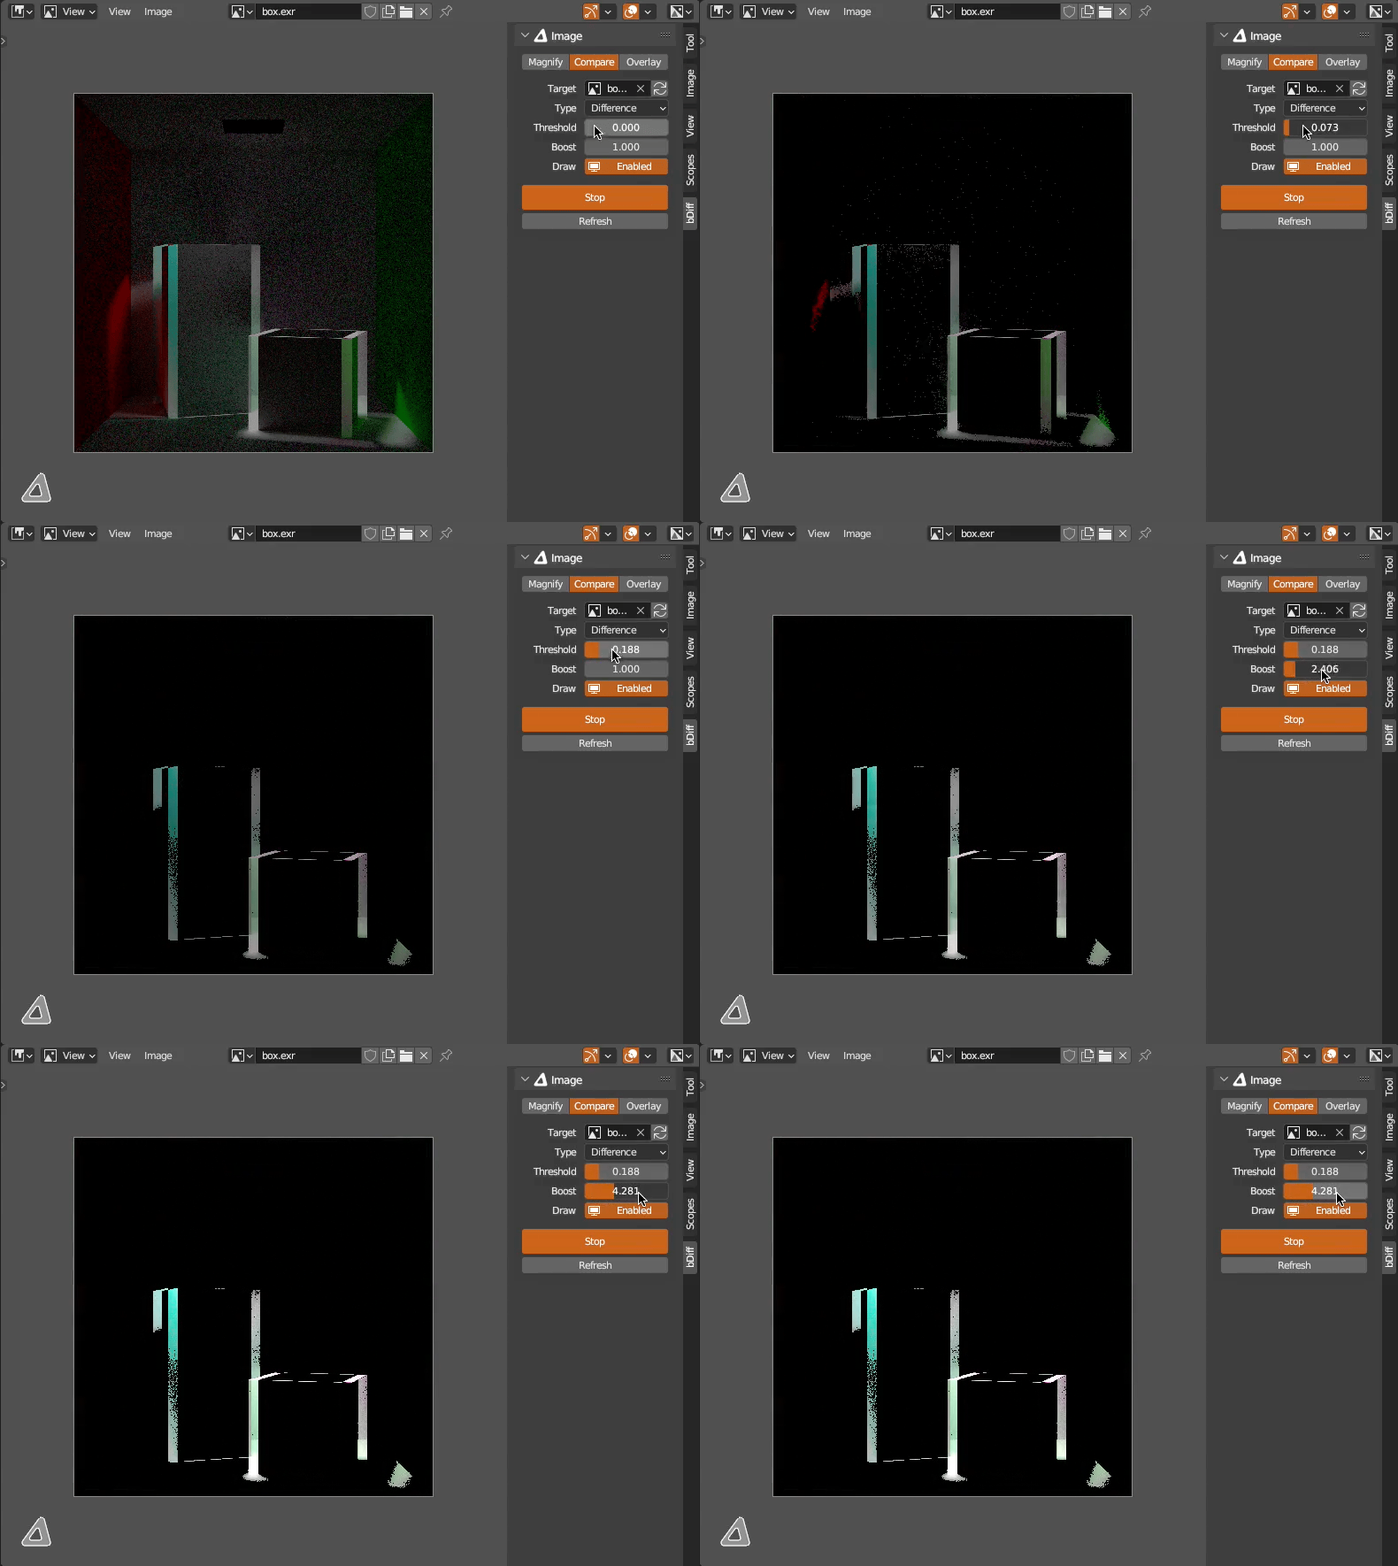
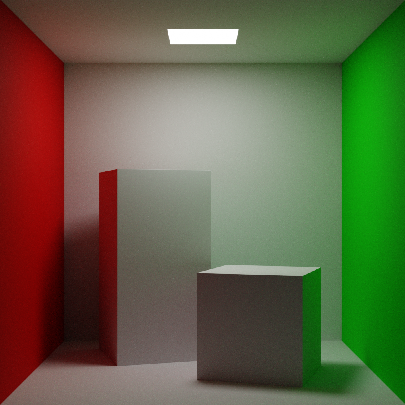
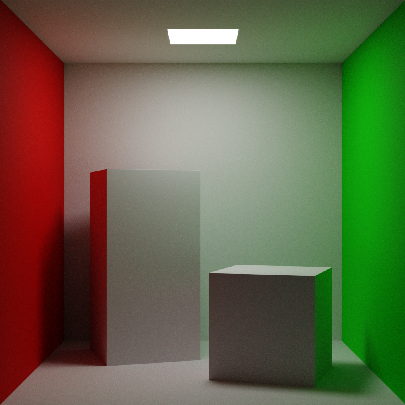
Absolute difference at pixel level between two images. Pixels that have the same values will be drawn as black. Any difference will show as color. With Threshold you can limit how big the difference need to be to show on screen.
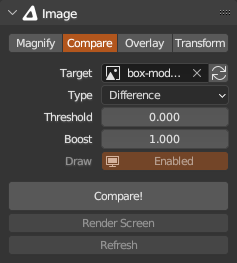
Mode- Main image data-block mode setting. Default value can be set automatically. See Preferences for more info.Target- Another Image data-block to compare with.Type- Drawing style.Threshold- Difference threshold, difference values less than threshold are considered equal.Boost- Multiply difference colors to be more visible.Draw- Draw override for this Image data-block.Compare!- Operator to start bDiff Image Data-Block Engine. Image Editor global shortcut to toggle engine is E. If engine is running, becomesStopbutton.Render Screen- Render screen image to a PNG file.Refresh- Refresh all images in bDiff Image Data-Block Engine if they have been modified from outside. Image Editor global shortcut is R.
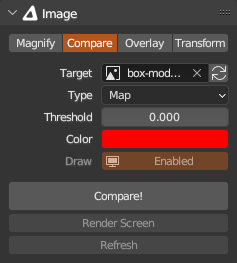
Map
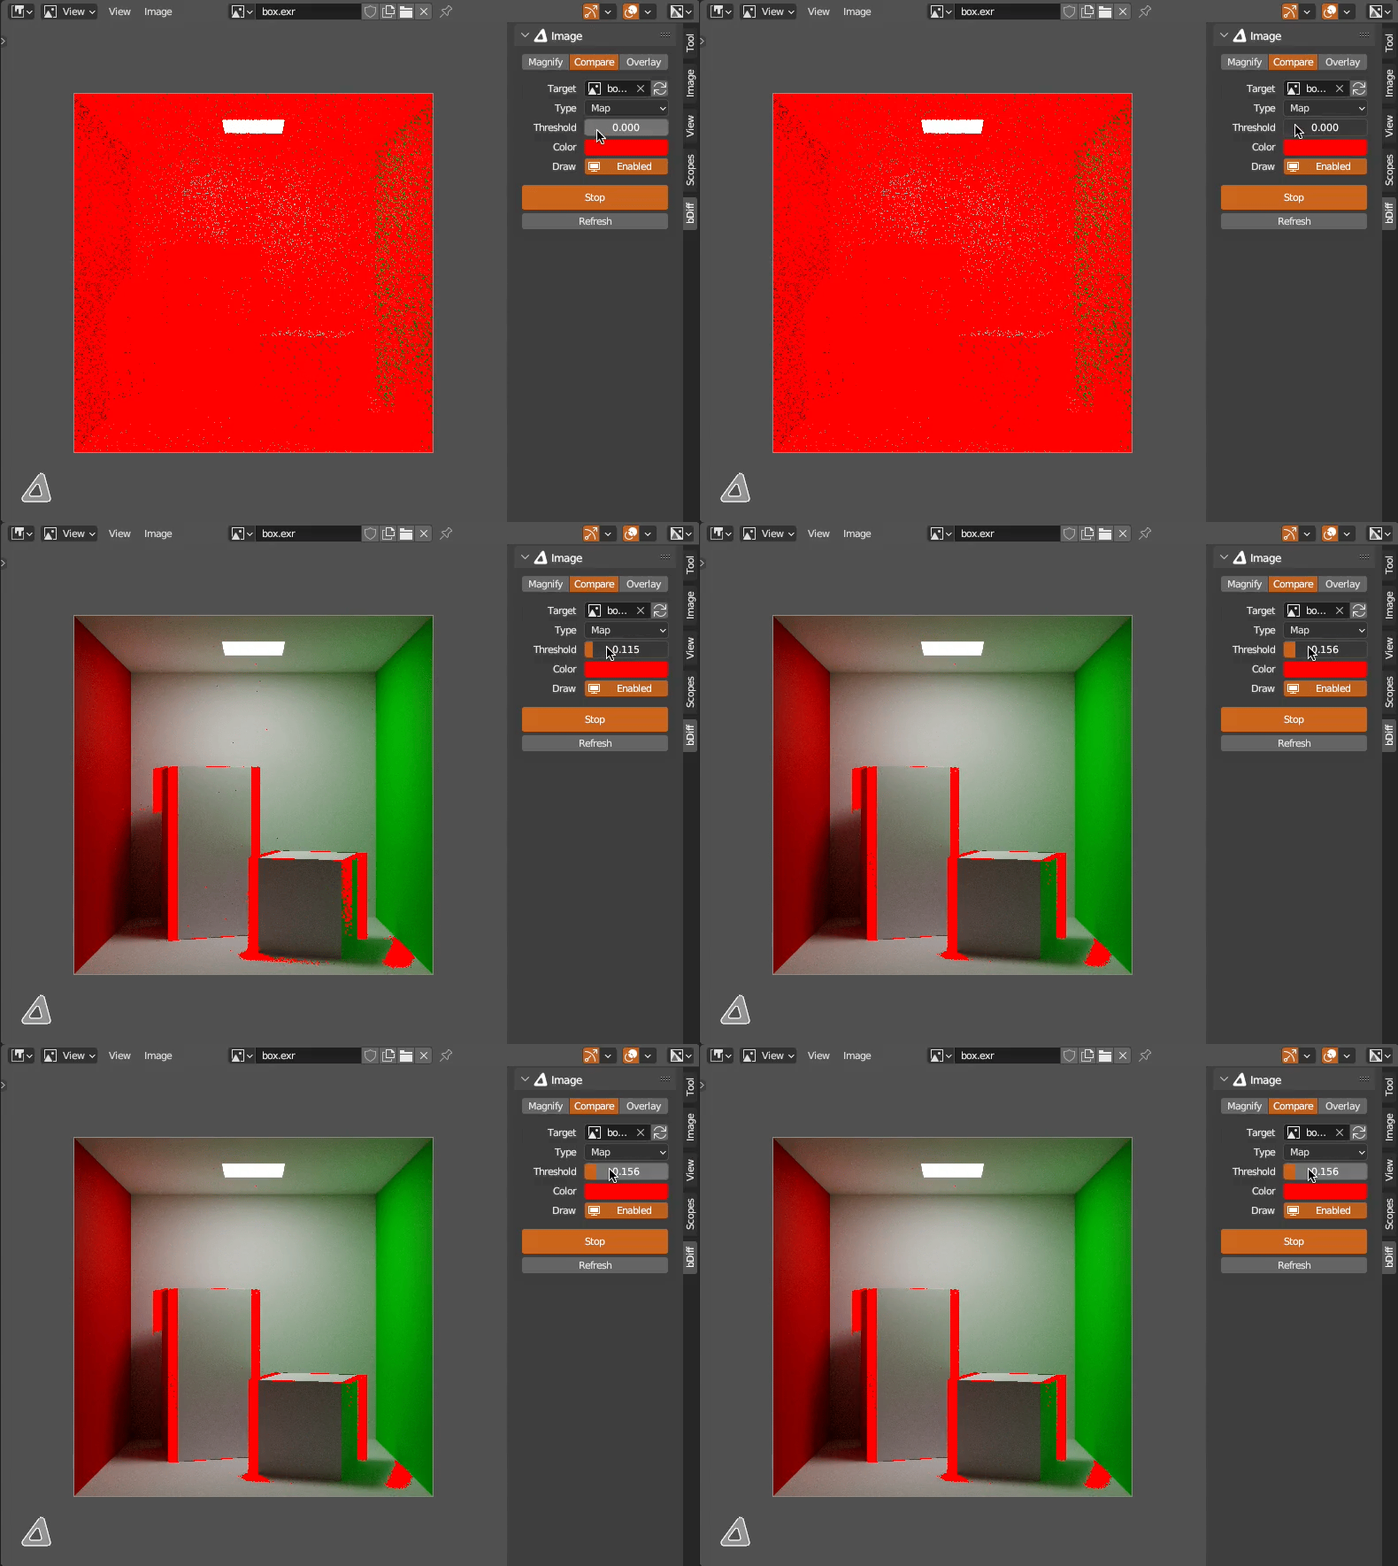


Mark areas with different pixel values with solid color. With Threshold you can limit how big the difference need to be to show on screen. Color marking difference can be customized with Color.
Mode- Main image data-block mode setting. Default value can be set automatically. See Preferences for more info.Target- another Image data-block to compare with.Type- Drawing style.Threshold- Difference threshold, difference values less than threshold are considered equal.Color- Difference marker color.Draw- Draw override for this Image data-block.Compare!- Operator to start bDiff Image Data-Block Engine. Image Editor global shortcut to toggle engine is E. If engine is running, becomesStopbutton.Render Screen- Render screen image to a PNG file.Refresh- Refresh all images in bDiff Image Data-Block Engine if they have been modified from outside. Image Editor global shortcut is R.
 Slider
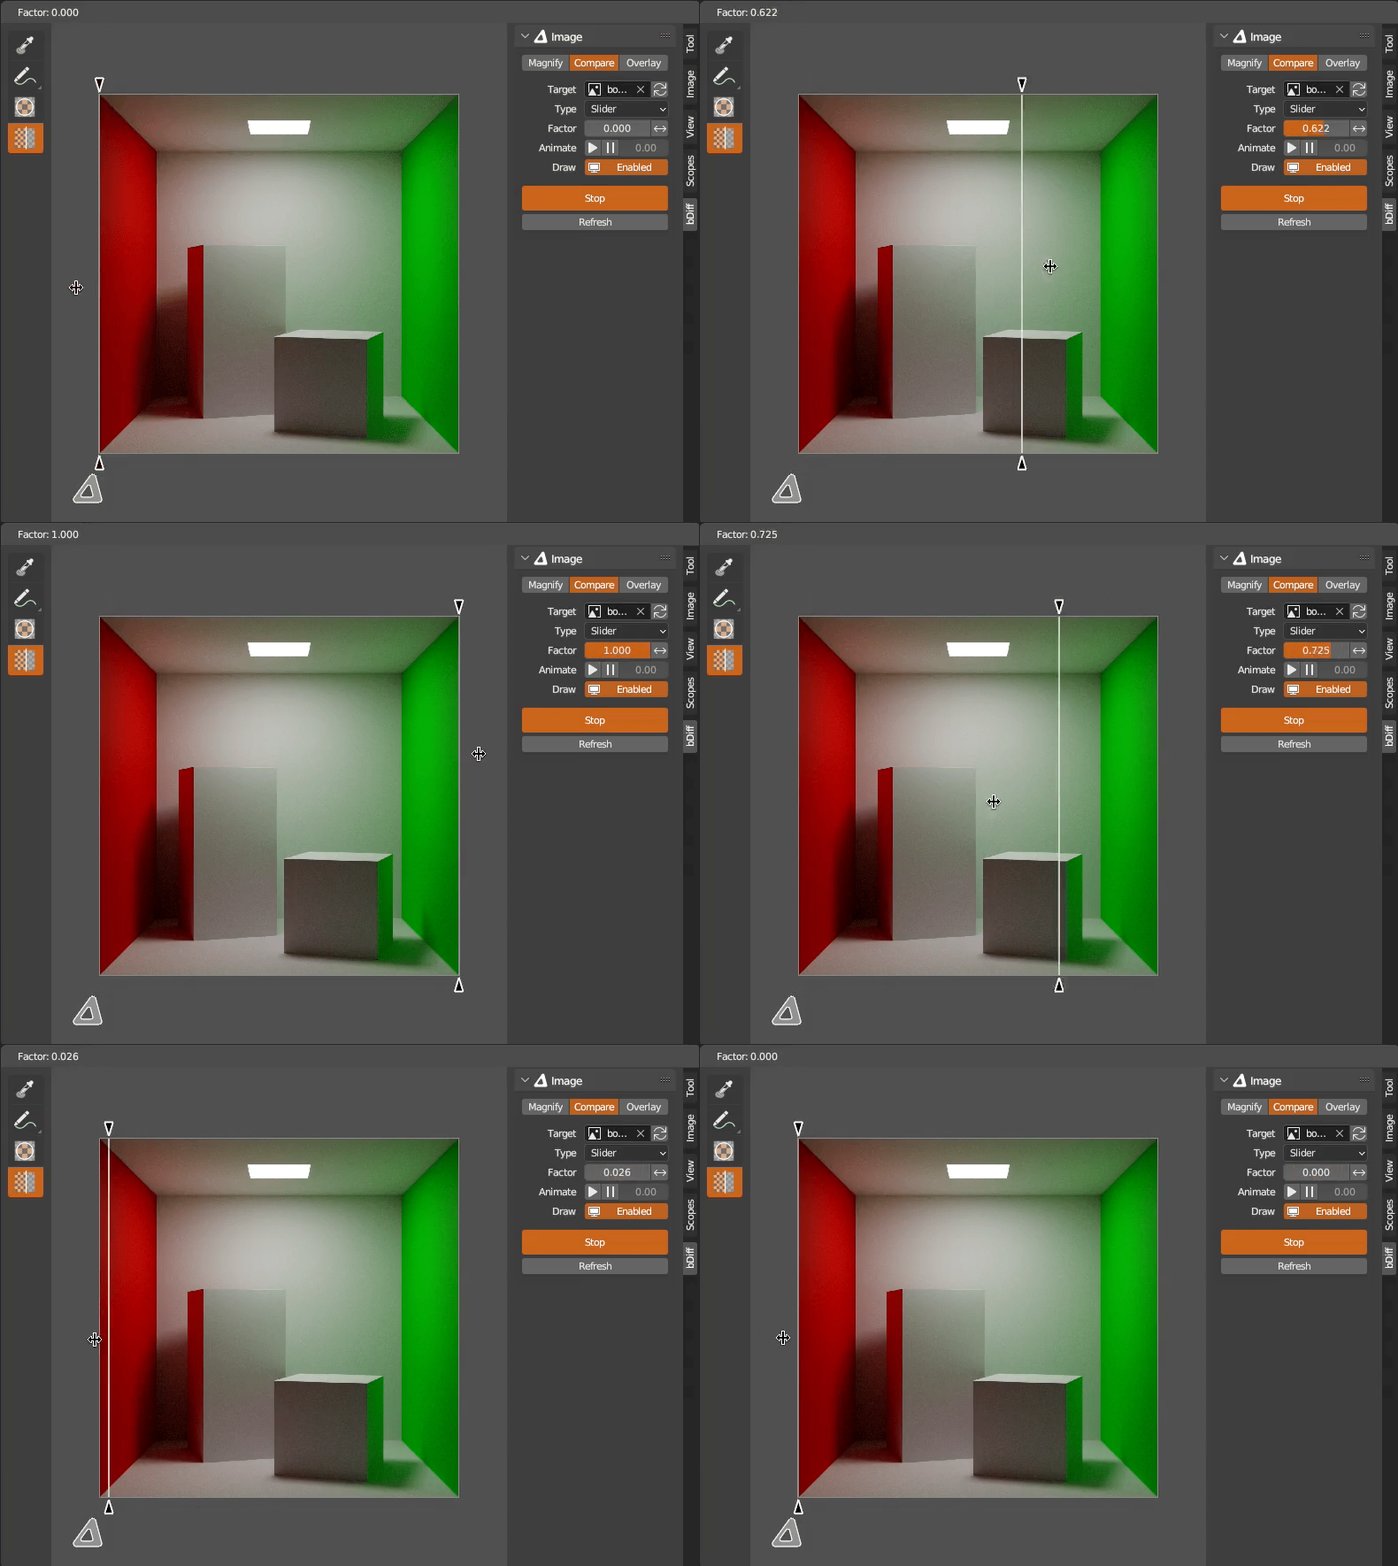


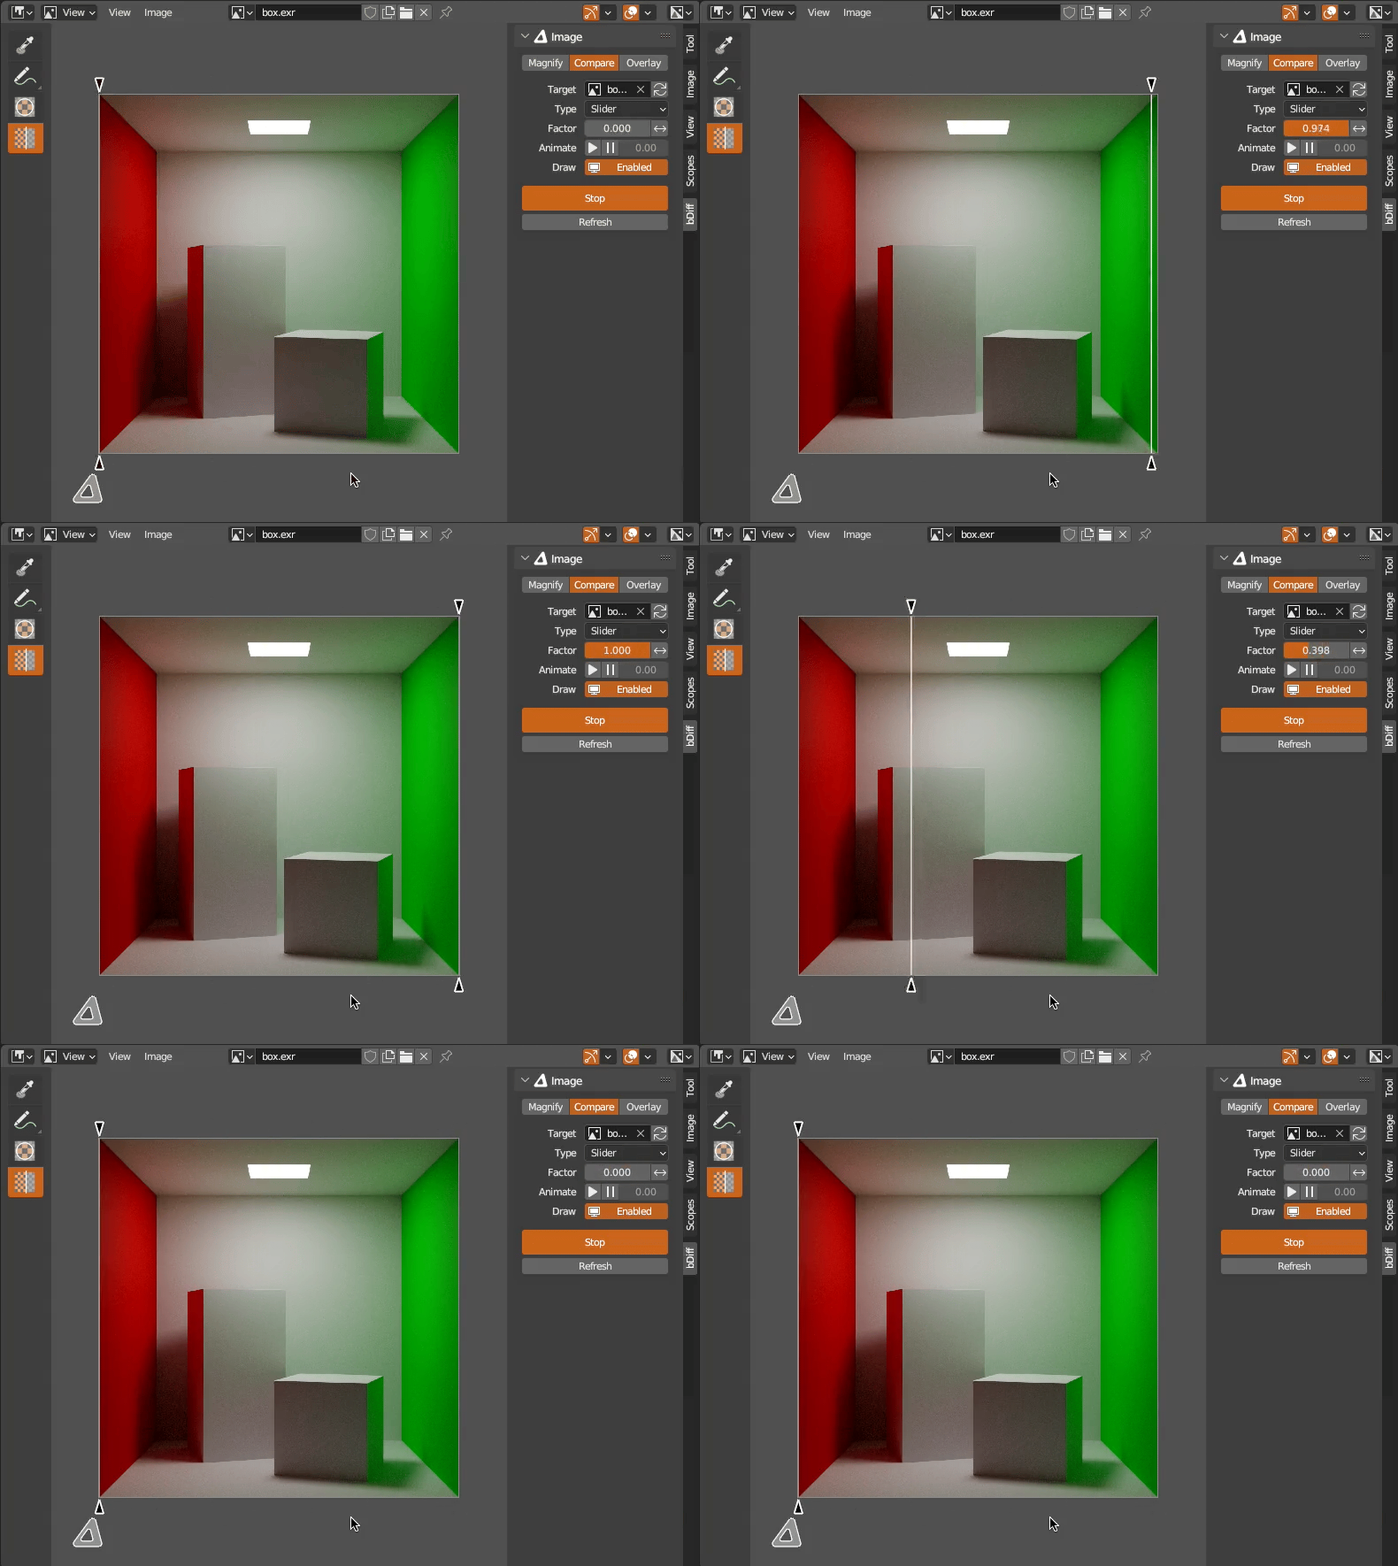
Before/after Slider, source image as before, target as after. Comes with interactive tool ![]() in Image Editor toolbar that controls dividing line, LMB to set dividing line location and drag to move it. Can be activated with S key while mouse is in Image Editor.
in Image Editor toolbar that controls dividing line, LMB to set dividing line location and drag to move it. Can be activated with S key while mouse is in Image Editor. will swap Source and Target data-blocks.
will swap between showing whole source or whole target image.
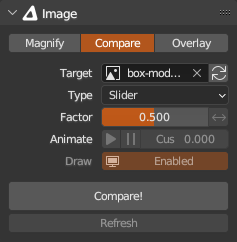
Mode- Main image data-block mode setting. Default value can be set automatically. See Preferences for more info.Target- another Image data-block to compare with.Type- Drawing style.Factor- Dividing line X location.Animate- Animate to before/after views and set custom animation duration for this data-block.Draw- Draw override for this Image data-block.Compare!- Operator to start bDiff Image Data-Block Engine. Image Editor global shortcut to toggle engine is E. If engine is running, becomesStopbutton.Refresh- Refresh all images in bDiff Image Data-Block Engine if they have been modified from outside. Image Editor global shortcut is R.
Shortcuts
Select tool in toolbar S
Animate/Toggle to show Source A
Animate/Toggle to show Target D
Animate/Toggle to show halfway W
Slider tool header
Settings are accessible from tool header as well.

Compare Render Slots
Render Result image will have all its render slots to choose from when used both as Source and Target to compare between slots. If slot has no rendered image, error message will be displayed.
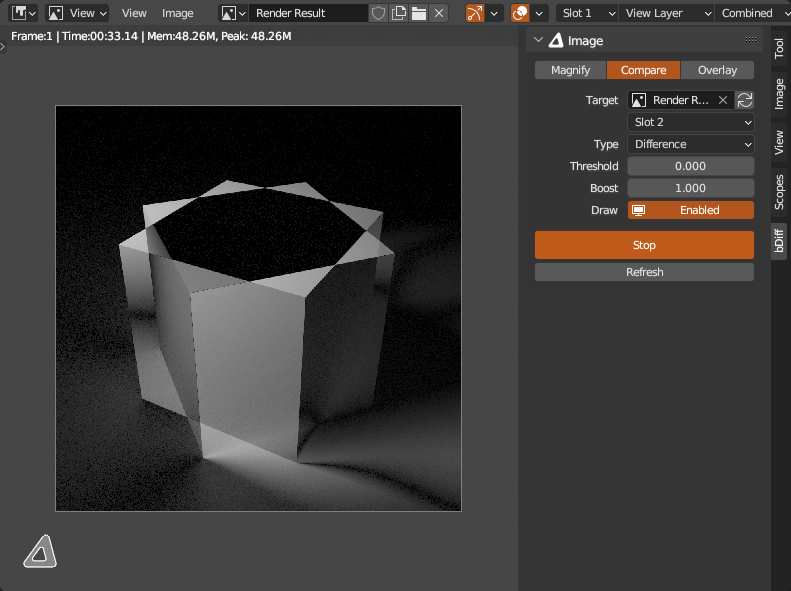
If Source is different image (e.g. loaded from file), and Target is Render Result, only first slot can be used, other slots will be unavailable.
Blender has shortcuts for cycling through render slots forwards J and backwards ALT + J and to select slot directly 1, 2, 3, etc. Those will work when Render Result is set as source. If Result Result is set also as Target, bDiff adds another set of shortcuts for it. SHIFT + J and SHIFT + ALT + J for cycling and SHIFT + 1, SHIFT + 2, SHIFT + 3, etc. to set slot directly.
Compare Sequences and Movies
If Source image is still image and Target is a file sequence, Blender will not update sequence frame number and will report it as path to 0000.EXT file, regardless of the current frame. If sequence is used as Source, this problem does not occur. If that happens (on screen error about missing file), use button to swap
Source and Target data-blocks, so sequence is Source and frame file path is updated on frame change.
Movie can be both Source and Target without issues.
Overlay
Overlay uses only image loaded to Image Editor as Source. Set desired settings and click Overlay! button or E shortcut while mouse cursor is inside Image Editor.
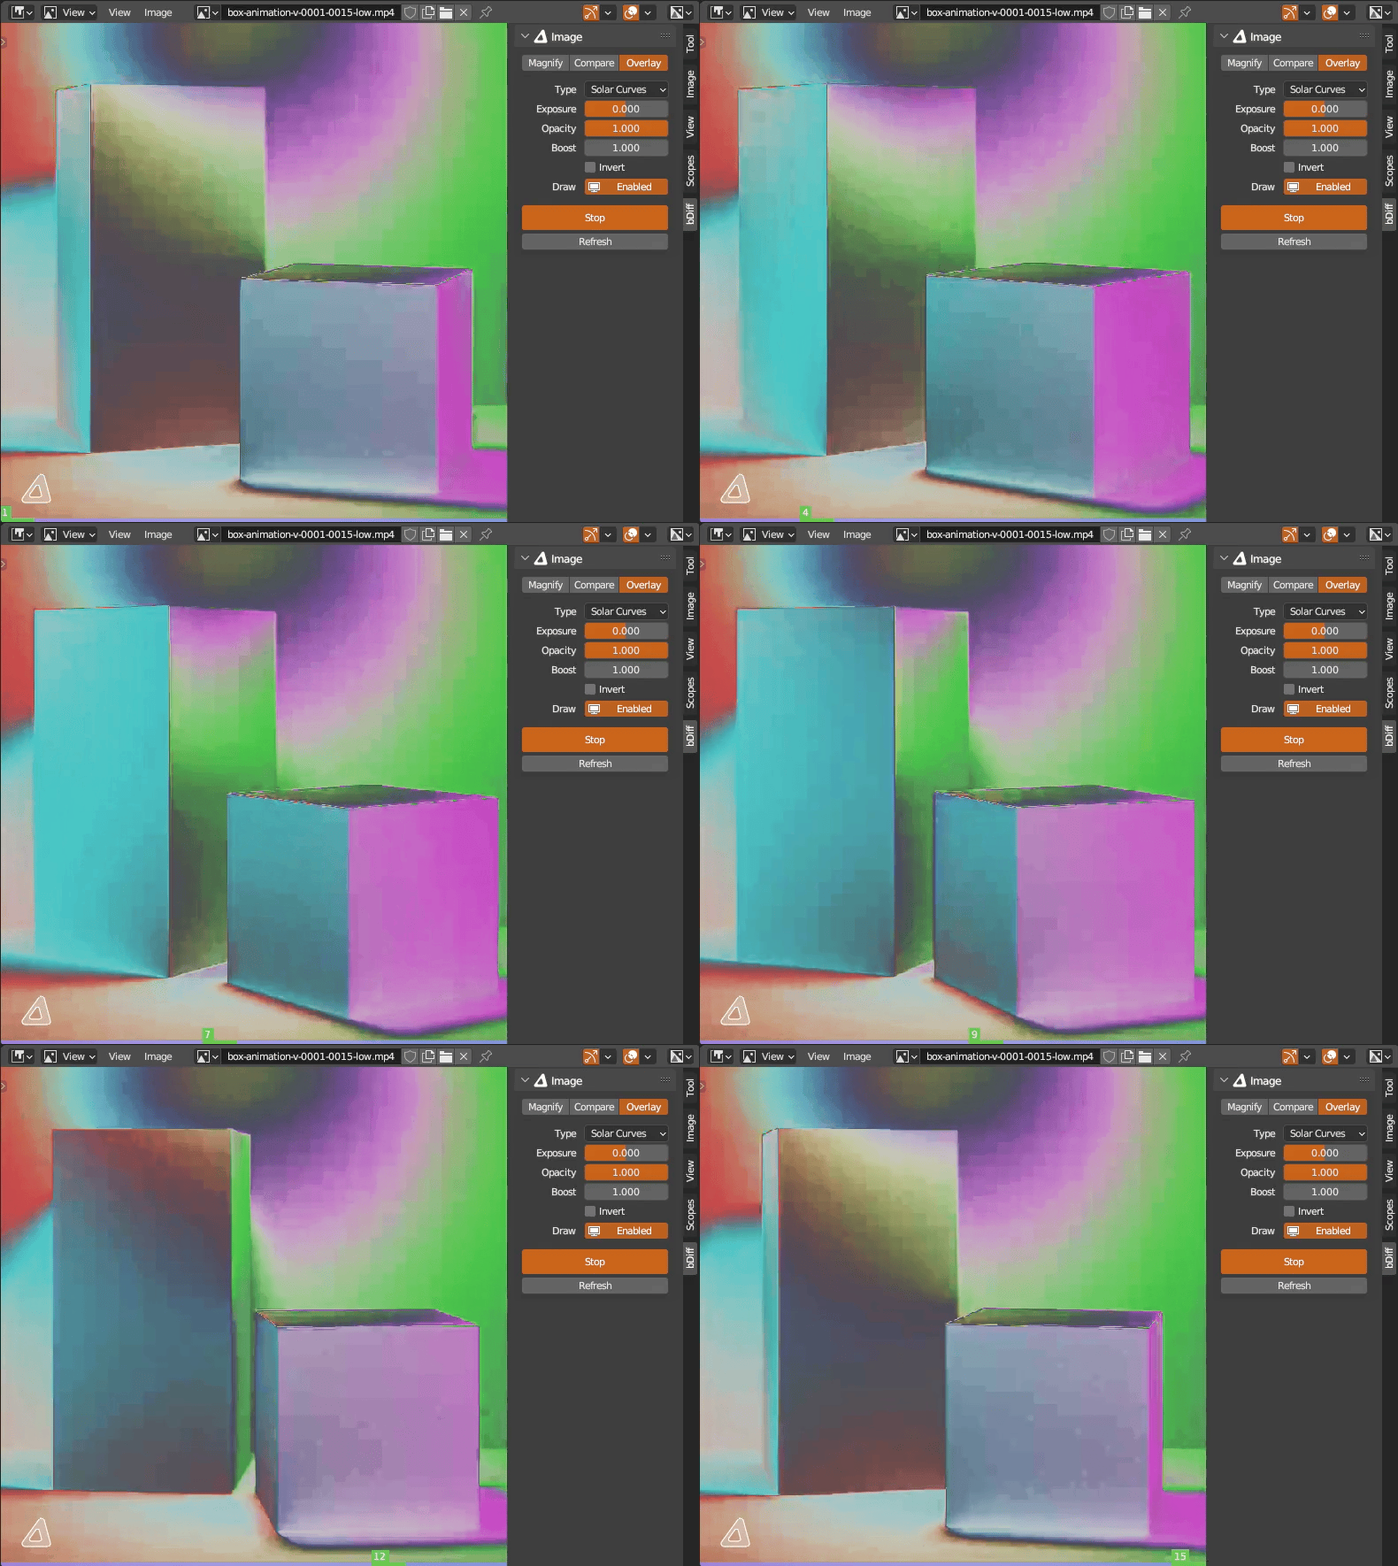
Solar Curves
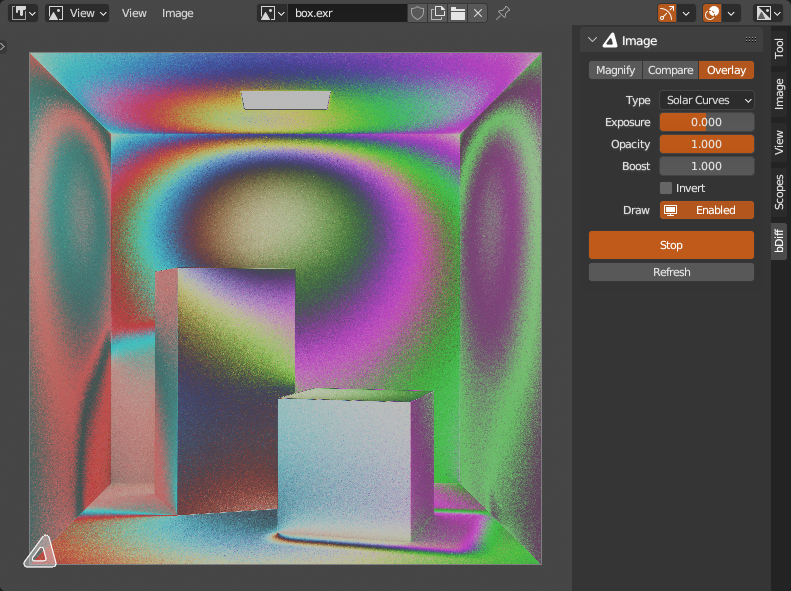
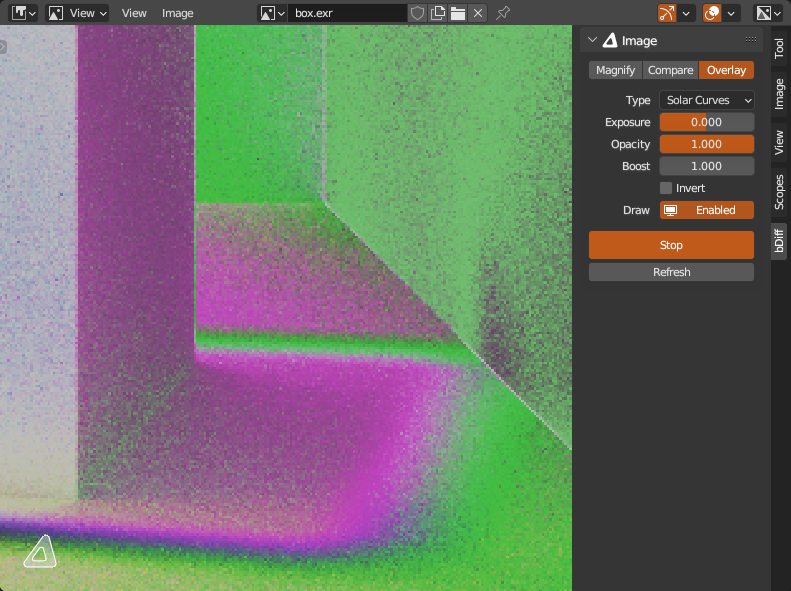
Recreation of Solar Curves tool that helped me every day in past over then decade in photo retouching business. It is especially powerful in finding uneveness in smooth areas, and especially-especially in overly dark and light areas. Analyse hard to see details like double shadows, noise, dust on lens or sensor, compression artifacts etc.
Mode- Main image data-block mode setting. Default value can be set automatically. See Preferences for more info.Type- Switch between overlay types.Exposure- Adjust exposure of base image before overlay is applied.Opacity- Overlay opacity over original.Boost- Multiply overlay colors.Invert- Invert overlay colors.Draw- Draw override for this Image data-block.Overlay!- Operator to start bDiff Image Data-Block Engine. Image Editor global shortcut to toggle engine is E. If engine is running, becomesStopbutton.Render Screen- Render screen image to a PNG file.Refresh- Refresh all images in bDiff Image Data-Block Engine if they have been modified from outside. Image Editor global shortcut is R.
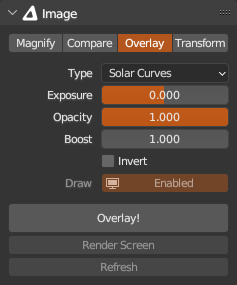
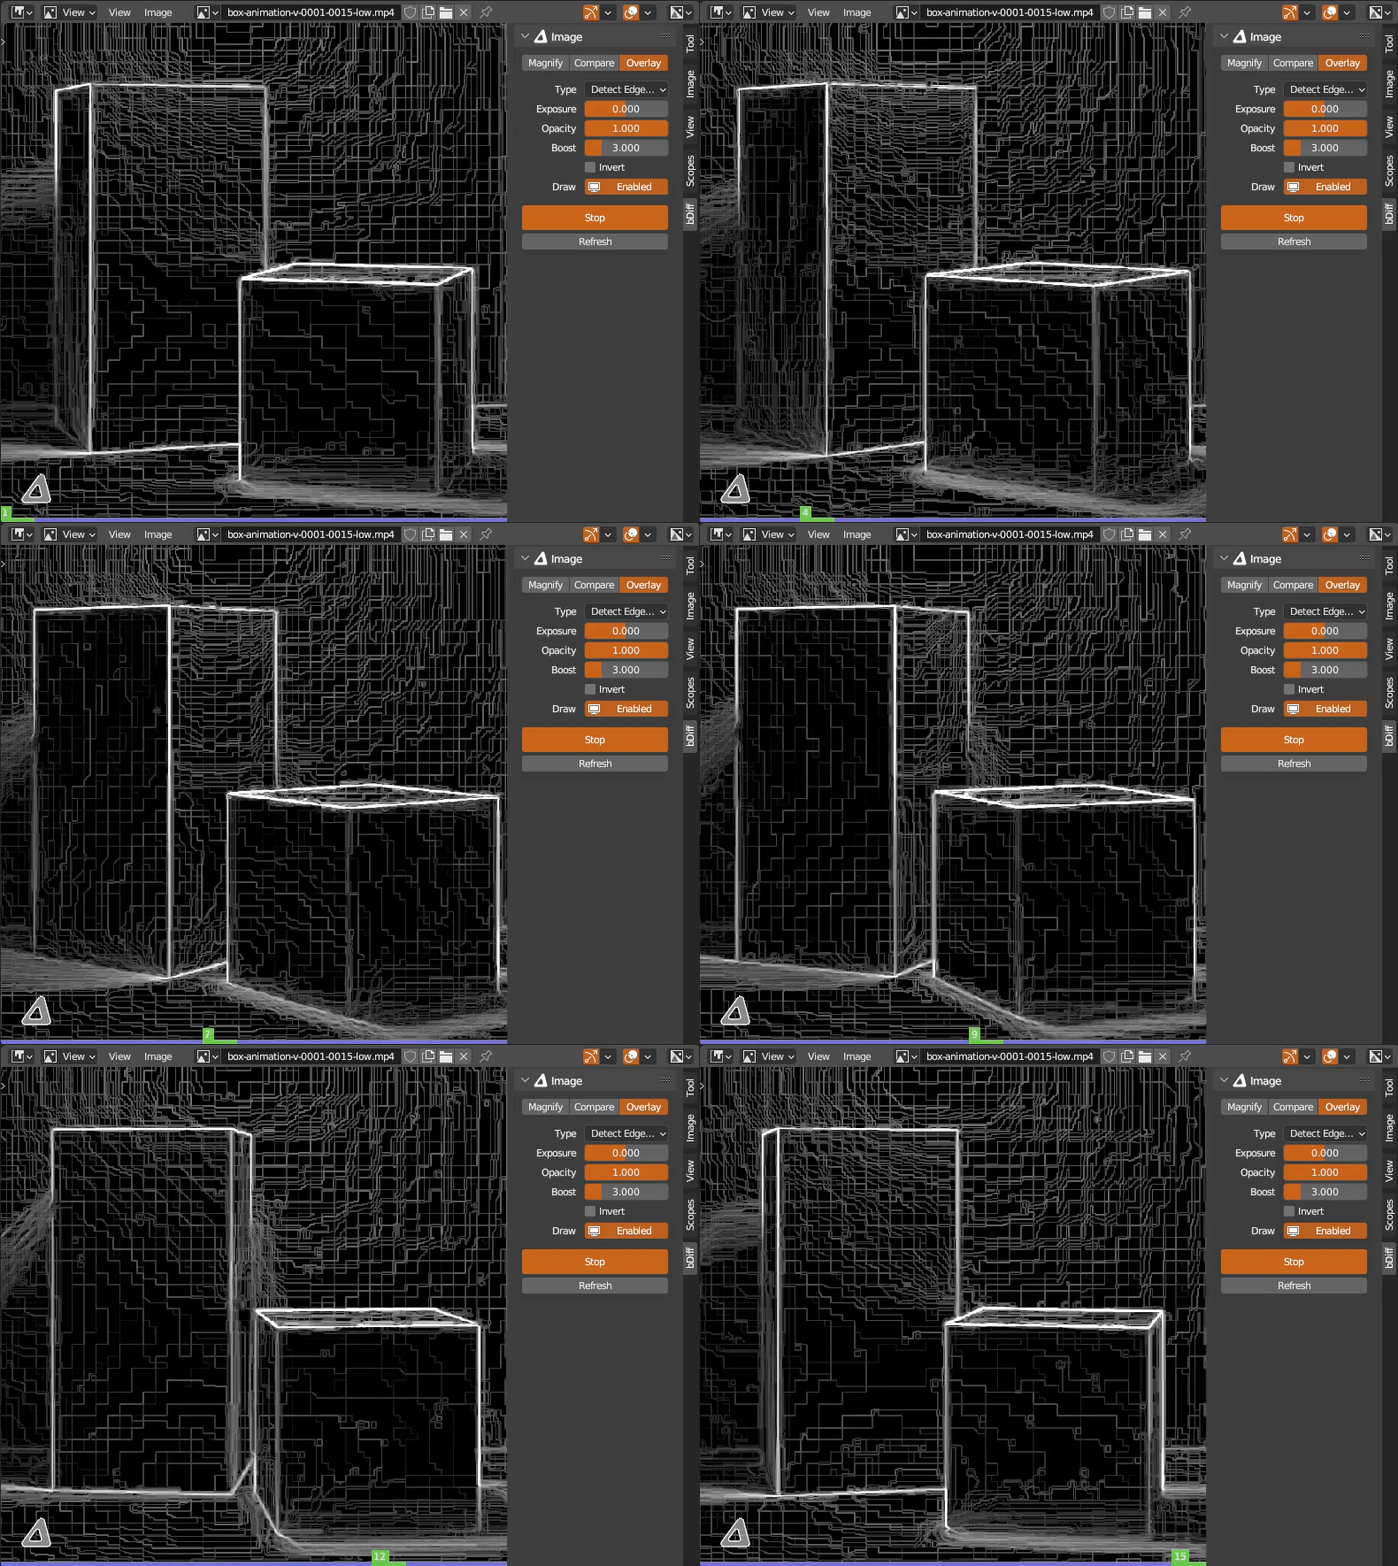
Detect Edges (Sobel)
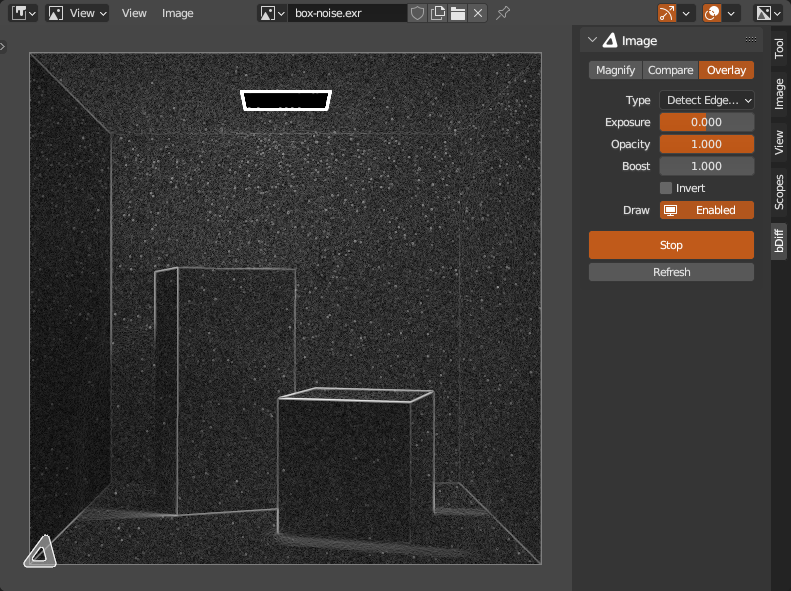
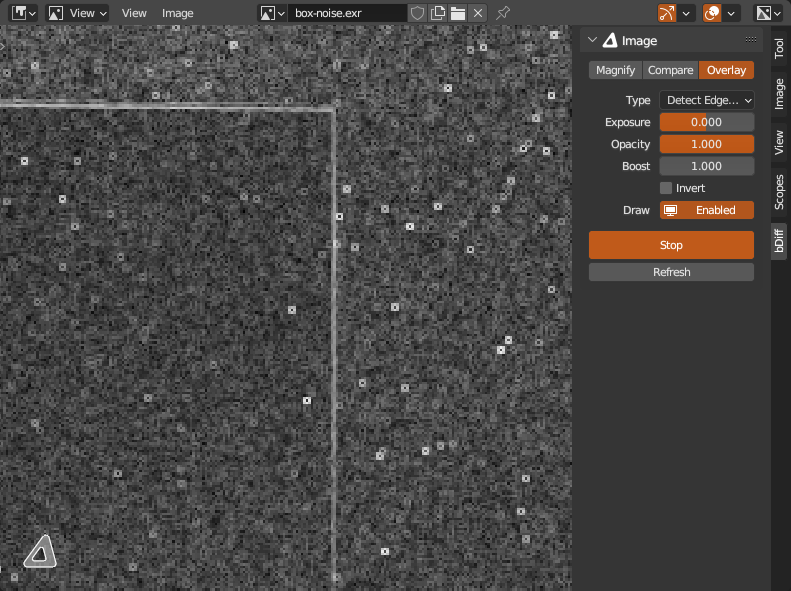
Finding noisy areas, compression artifacts, etc..
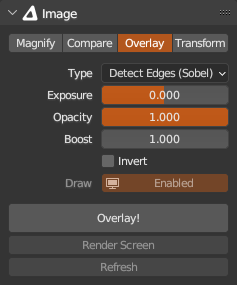
Mode- Main image data-block mode setting. Default value can be set automatically. See Preferences for more info.Type- Switch between overlay types.Exposure- Adjust exposure of base image before overlay is applied.Opacity- Overlay opacity over original.Boost- Multiply overlay colors.Invert- Invert overlay colors.Draw- Draw override for this Image data-block.Overlay!- Operator to start bDiff Image Data-Block Engine. Image Editor global shortcut to toggle engine is E. If engine is running, becomesStopbutton.Render Screen- Render screen image to a PNG file.Refresh- Refresh all images in bDiff Image Data-Block Engine if they have been modified from outside. Image Editor global shortcut is R.
Transform and  Transform tool
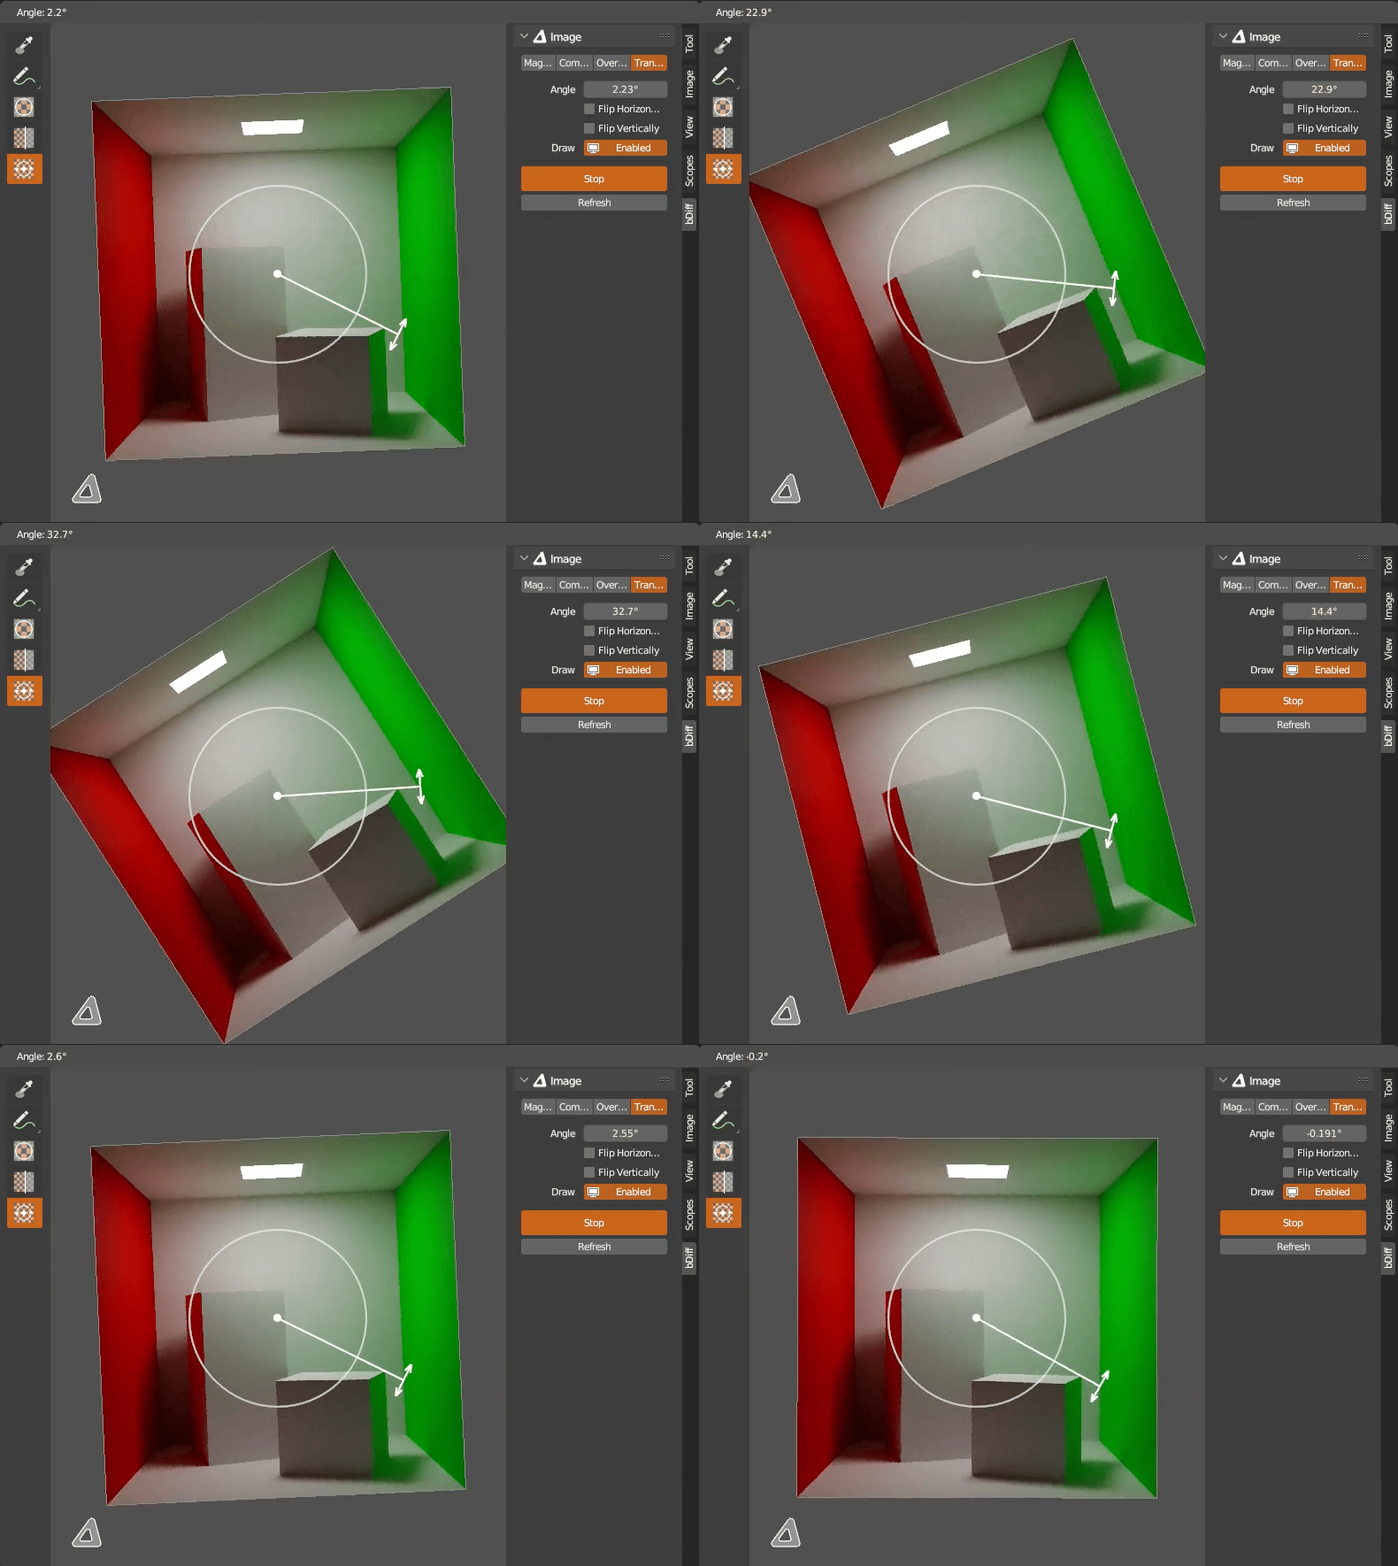
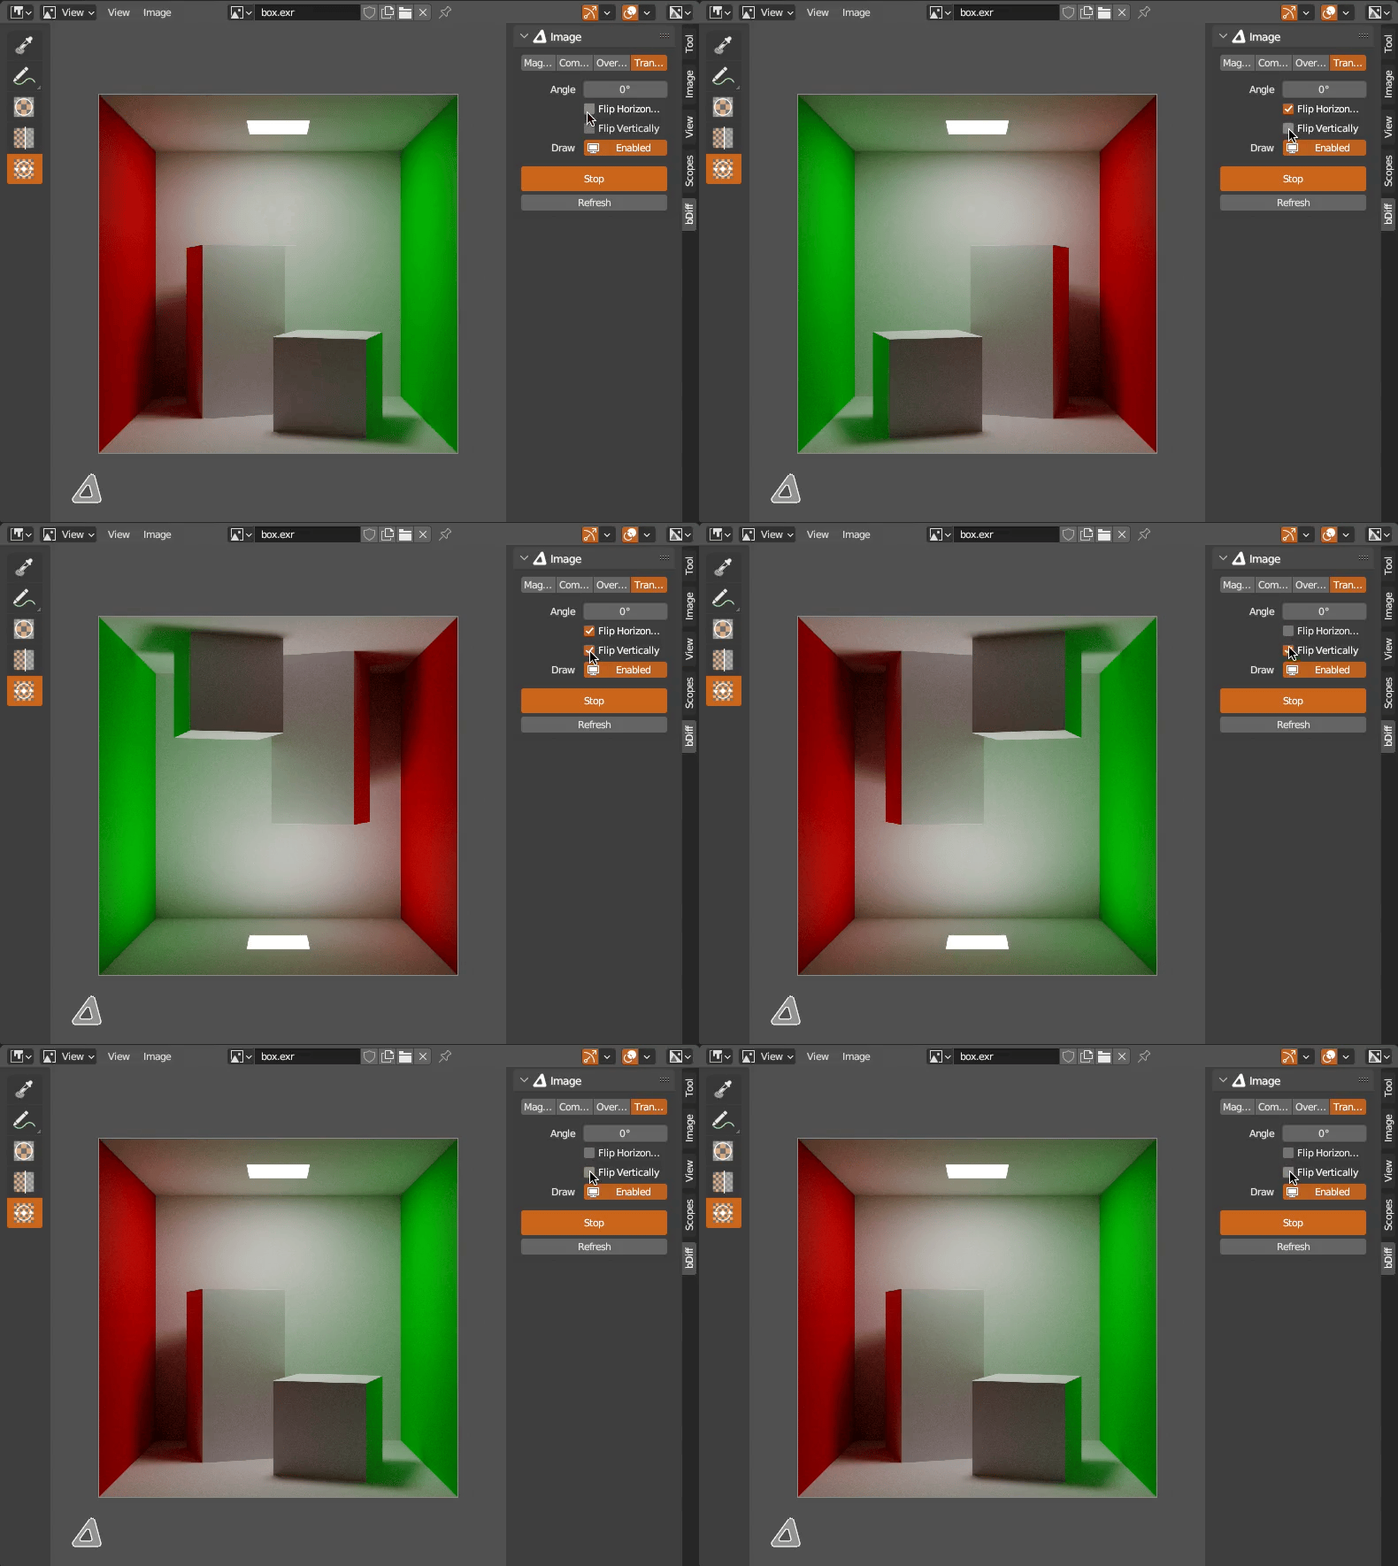
Using ![]()
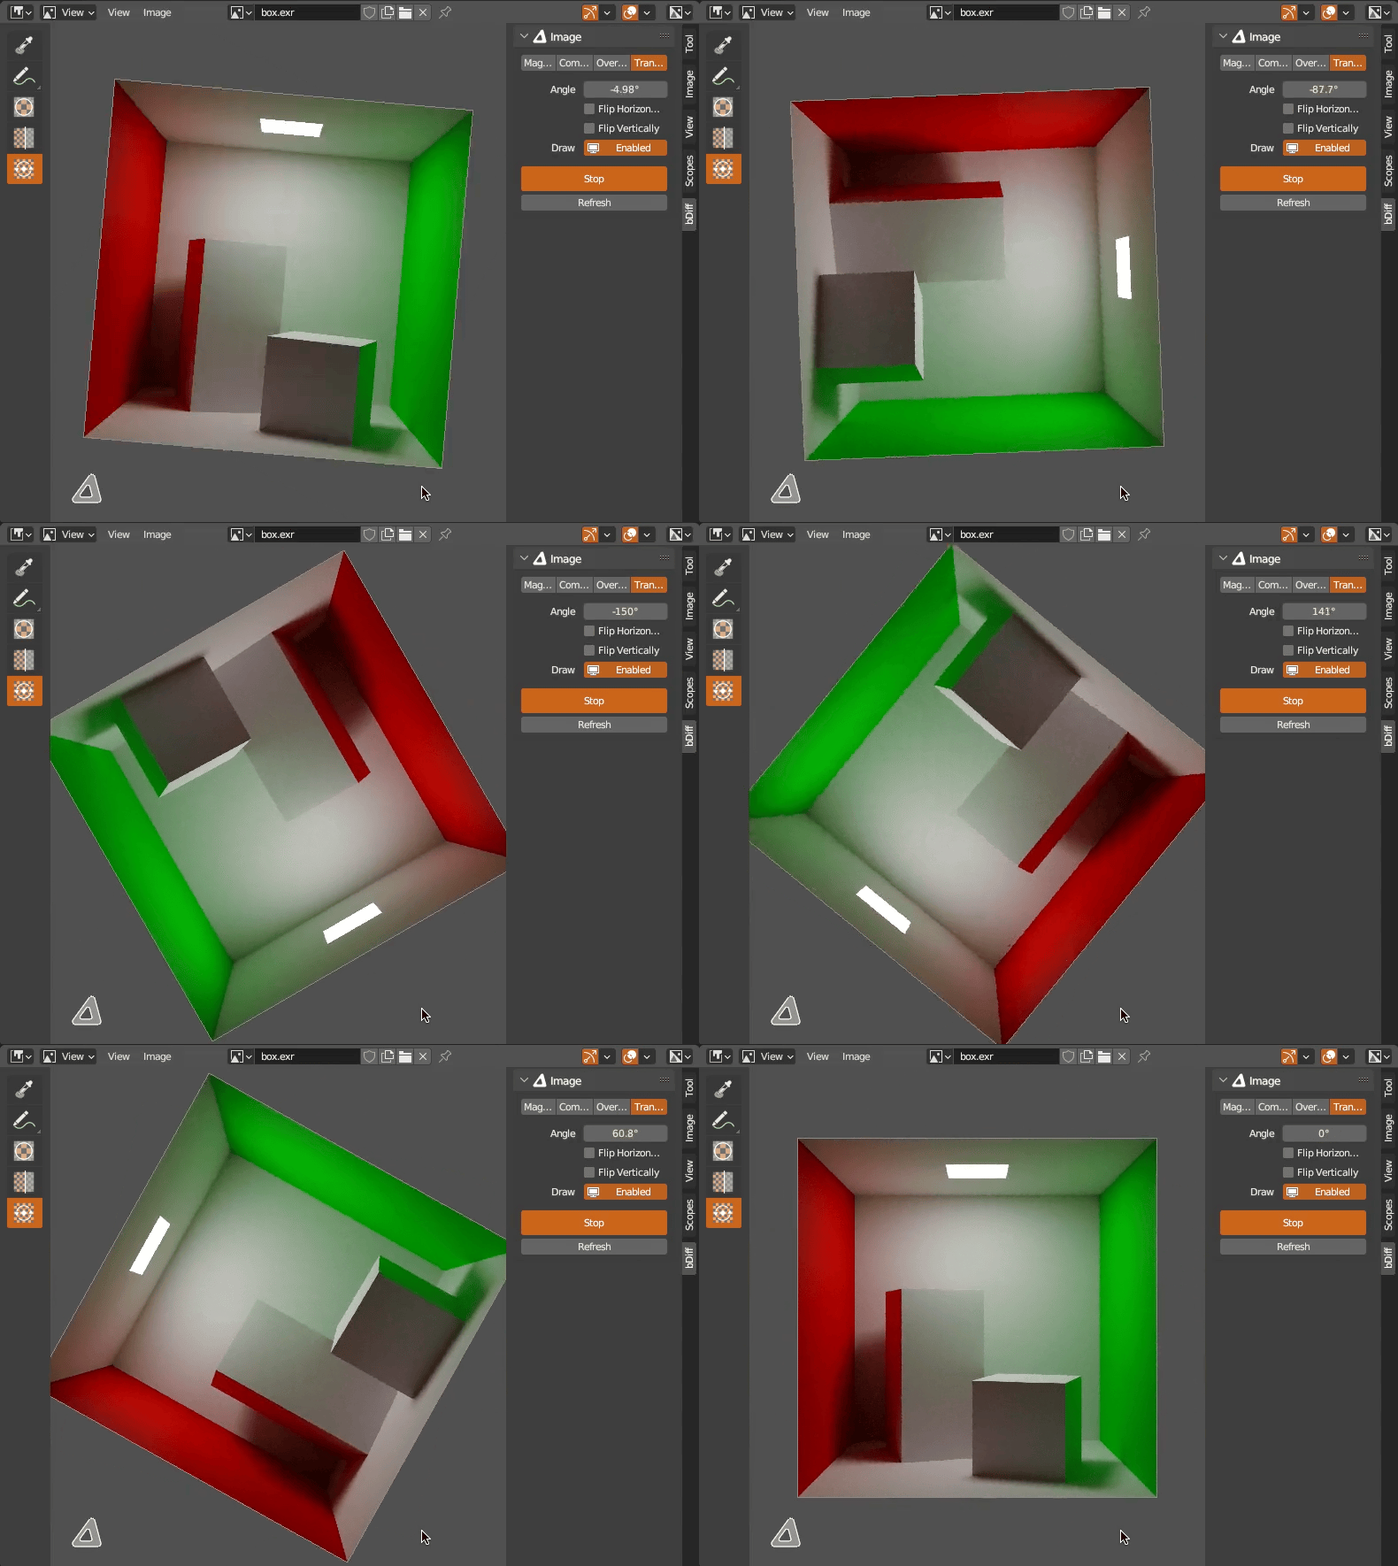
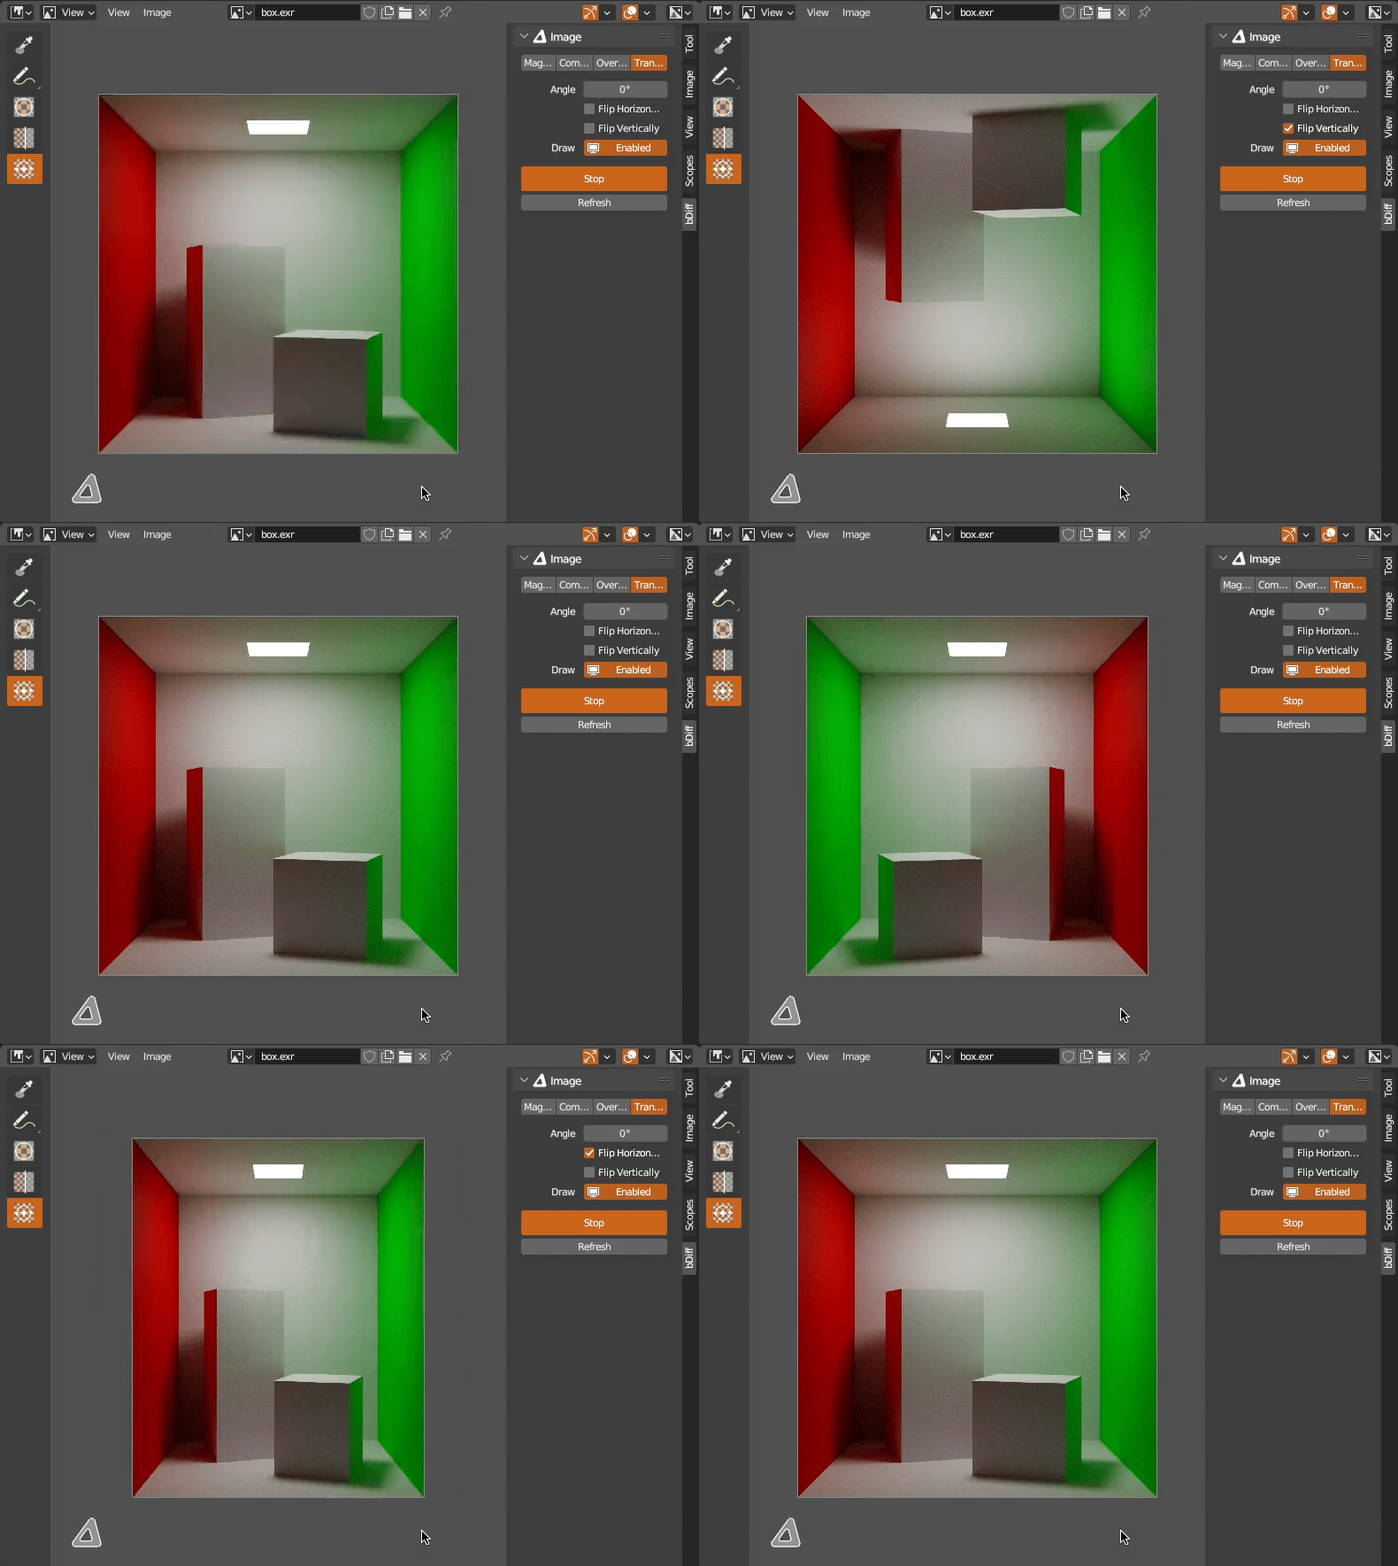
Transform tool you can rotate and flip image preview. If Transform tool is used or selected via shortcut R, engine is started automatically. No need to click Transform! button. If tool is used without engine running, it will start it automatically upon first use. LMB to show rotation widget, drag to rotate image. Animated CW/CCW rotation and flip is executed via shortcuts while tool is active. Setting angle and flip from panel will not trigger animation.
Angle- Rotate image previewFlip Horizontally- Flip image preview horizontallyFlip Vertically- Flip image preview verticallyDraw- Draw override for this Image data-block.Transform!- Operator to start bDiff Image Data-Block Engine. Image Editor global shortcut to toggle engine is E. If engine is running, becomesStopbutton.Refresh- Refresh all images in bDiff Image Data-Block Engine if they have been modified from outside. Image Editor global shortcut is R.
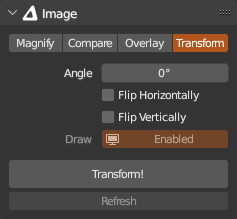
Shortcuts
Select tool in toolbar and activate engine R
Free rotate LMB and drag
Snap to 5° CTRL + LMB while free rotating
Rotate to 0° ALT + R
Step CCW ]
Step CW [
Flip horizontally H
Flip vertically V
Unflip ALT + F
Transform tool header
Settings are accessible from tool header as well.

Preferences
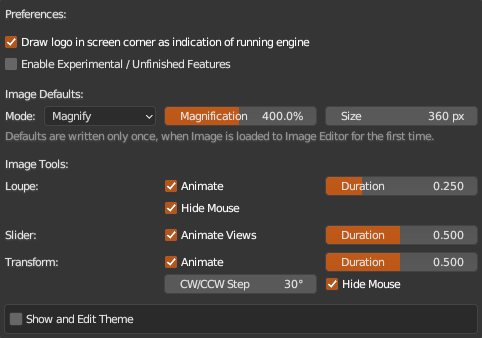
Draw logo in screen corner as indication of running engine
Appearance can be changed in Theme.
Enable Experimental / Unfinished Features
Does exactly what it says. These are not released, documented and might not even work properly. Suggestions welcome. So far there are blend files as linkable/appendable data-blocks table, properties of objects as table with ability to copy simple values and mesh vertices locations color coded visualization as points or triangles in 3d viewport.
Image Defaults
Lets you set default Mode for each new Image data-block. If you prefer specific Mode, set it here and it will be set for you when Image is loaded in Image Editor for the first time.
Image Tools
Loupe
Animate- Animate Loupe widgetDuration- Loupe widget animation duration in secondsHide Mouse- Hide mouse cursor while using loupe widgetInvert Mouse Wheel- Invert direction of mouse wheel in Loupe modal actions, see tool tooltip for details
Slider
Animate Views- Animate slide to predefined views invoked via shortcuts, see tool tooltip for detailsDuration- Slider animation duration in seconds, can be overrided per image
Transform
Animate- Animate rotation and flip via shortcutsDuration- Rotation and flip animation duration in secondsCW/CCW Step- Keyboard rotation stepHide Mouse- Hide mouse cursor while using transform widget
Show and Edit Theme
Edit colors and settings used to draw custom ui elements.
Changelogs
1.0.2
- Image: new
Transformmode and tool - Image: new
Render Screenoperator for select modes to save image as PNG - Image:
Render ResultasTarget, cycle through render slots with SHIFT + J and SHIFT + ALT + J - Image:
Render ResultasTarget, set render slot directly with SHIFT + 1, SHIFT + 2, SHIFT + 3, etc. - Image: tool tooltips and status bar text while tool is running now shows actual key combinations instead of hardcoded defaults
- Image: allow user to customize Loupe modal shortcuts which were hardcoded
- Image: store undo steps (does not work for changes with animations)
- Image: refactored animation engine
- Image: all tools shortcuts start engine if it is not running
- Image: all tools rewriten with common base for better maintenance
- Image: all image shaders rewriten for better maintenance
1.0.1
4 September 2024
- initital release